In researching the Bugaboos I read that it is notoriously rainy, so when deciding to stay at the hut versus the Applebee campground, I chose the hut, so if it rained we would have somewhere to dry gear and chill out. We got super lucky and on our 4 day trip it only sprinkled on us briefly on our hike in and out. We still really enjoyed the hut, but when deciding where to stay one should take into account that the hut adds about 1,000 extra feet of gain needed for all the climbs than from the campground.
Day 1 – Hike to the Kain Hut (3 miles, 2300ft)
The first thing that differentiates this area from any other area I have been to is the necessity to surround your car with chicken wire before leaving. Apparently there are animals in the area that like to chew the rubber hoses. Ekk.

Chicken wire around the car
So after meticulously wrapping Ralph (that’s my car) Ben and I set off around 5:15PM. We had planned on starting around 1 or 2, but between construction and a long boarder wait we got in way later than planned. The sign at the trail head warned of dangerous trail, but it turned out to be just fine. Actually it was the best trail I had been on in Canada, it even had switch backs! (I was starting to think Canadians did not believe in switchbacks). The trail starts off flat and then leads to switchbacks that are pretty steep. There are two sections of trail that are slightly exposed and have chains, probably necessary if it is icy, but not in the good weather we had, and one short ladder.

Chains
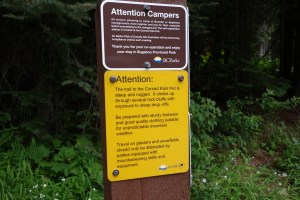
Trailhead warning

Up the ladder
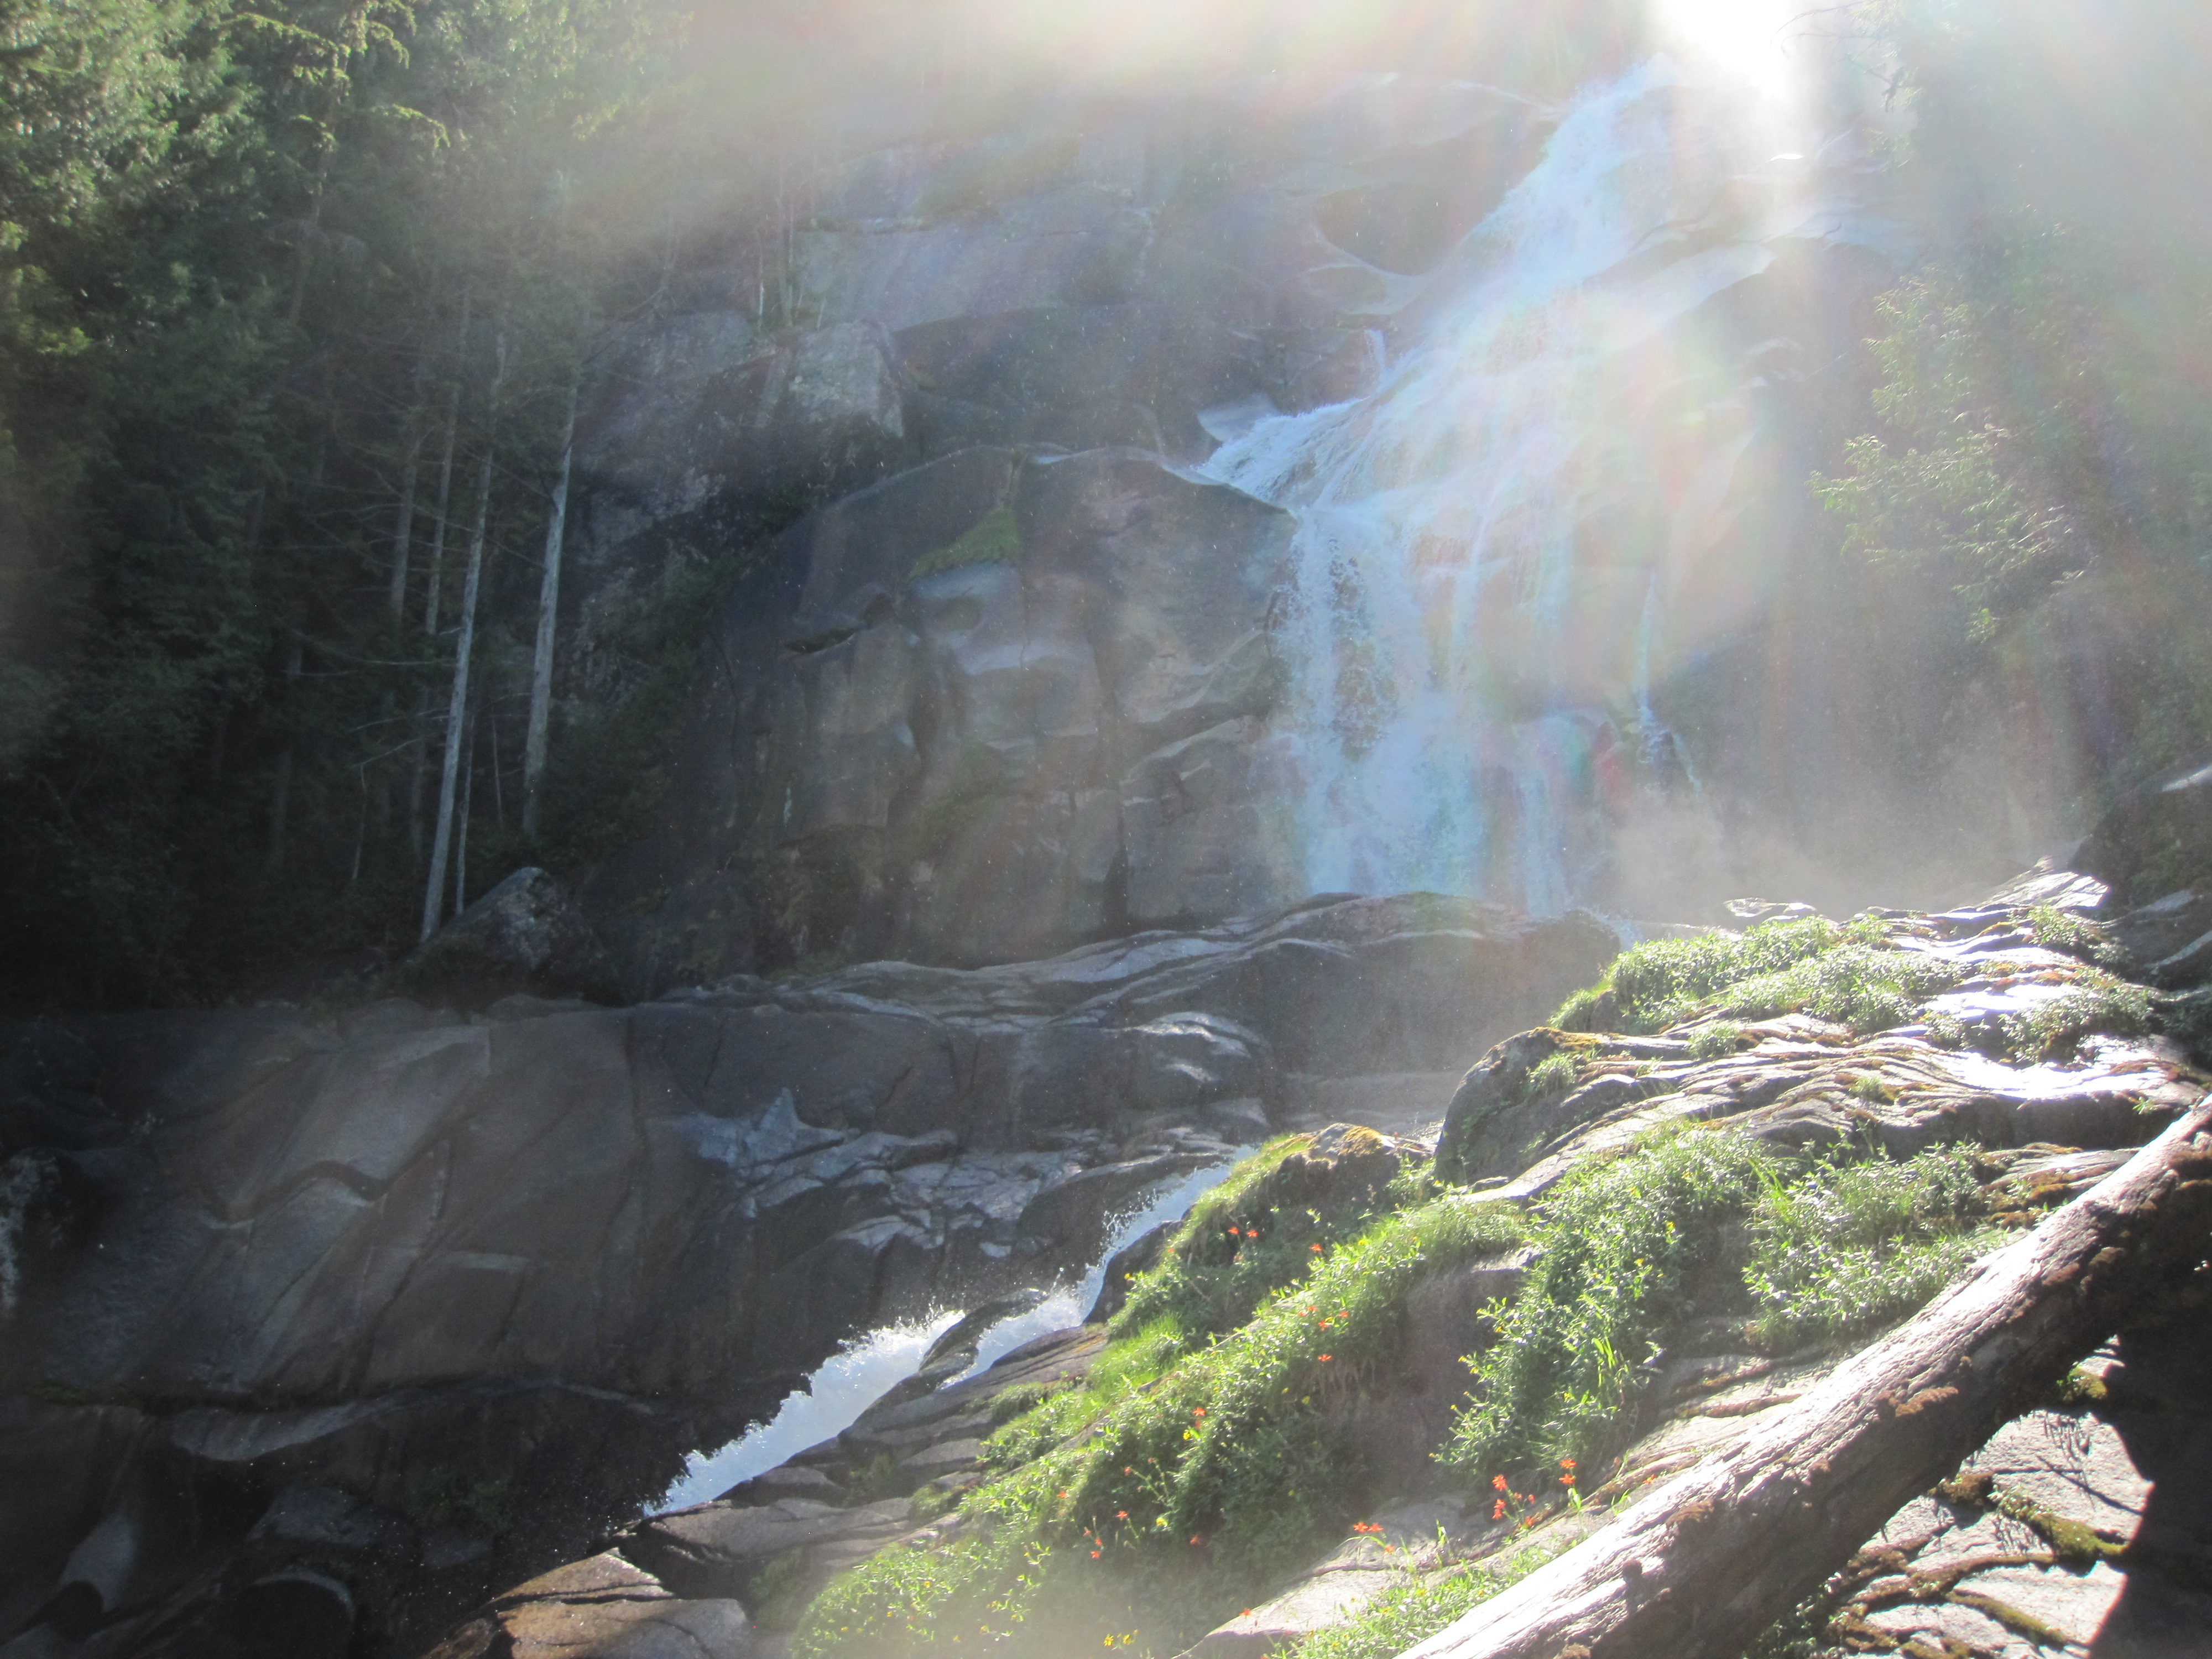
We got great views of the Bugaboo glacier going up the trail, and there were lots fo beautiful wildflowers. We eventually spotted the hut and arrived around 8PM. The hut is really nice, with a fully equipped kitchen (running water, gas stove, pots, pans, plates).
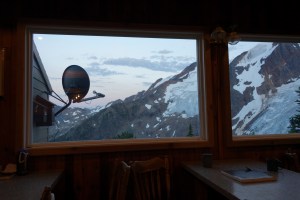
View from the hut
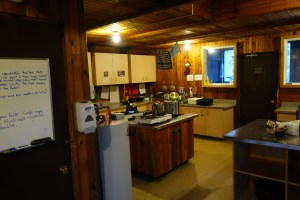
Kitchen
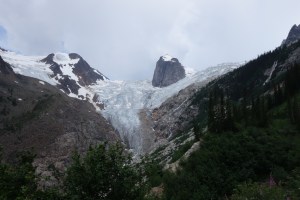
View of the Bugaboo Glacier on the hike up
Day 2 – Eastpost Spire (Scramble)
After getting in way later than expected the previous night we scrapped our plans for an early start and woke up at the late hour of 8am. Since most of the climbs require an early start this put them off limits for our first full day. I asked the hut caretaker what could be done with a late start and she suggested scrambling Eastpost Spire, so that is what we did. While prepping that morning we made a new friend, Noelle, and she joined us on the scramble.
The approach to Eastpost goes through Applebee campground, which is about a 45min hike up from the hut. We poked around the campground for a bit and then continued our way. The trail up to the col was obvious and well marked with cairns. From the col we got views of the Rockies in the far distance.
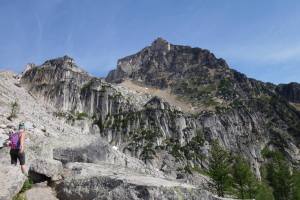
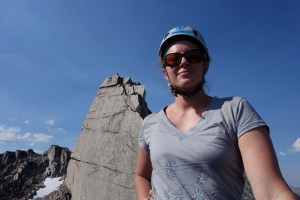
Andrea approaching Eastpost Spire

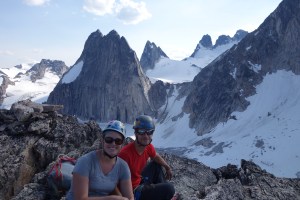
Andrea and Ben at the Col

View of the Rockies in the distance
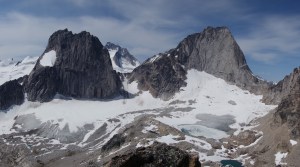
Snowpatch Spire and Bugaboo Spire from the Col
From the col the scramble started and we followed the cairns up the ridgeline. We stopped right below the summit for some pictures. We then did the last 100 feet to the summit, which featured 1 or 2 low 5th class moves. From there we snapped some pictures and then down climbed back to the larger, less exposed, area to eat lunch. The down climb was a little scary, and there were rap rings, so most people must rappel that pitch.

From the top of Eastpost
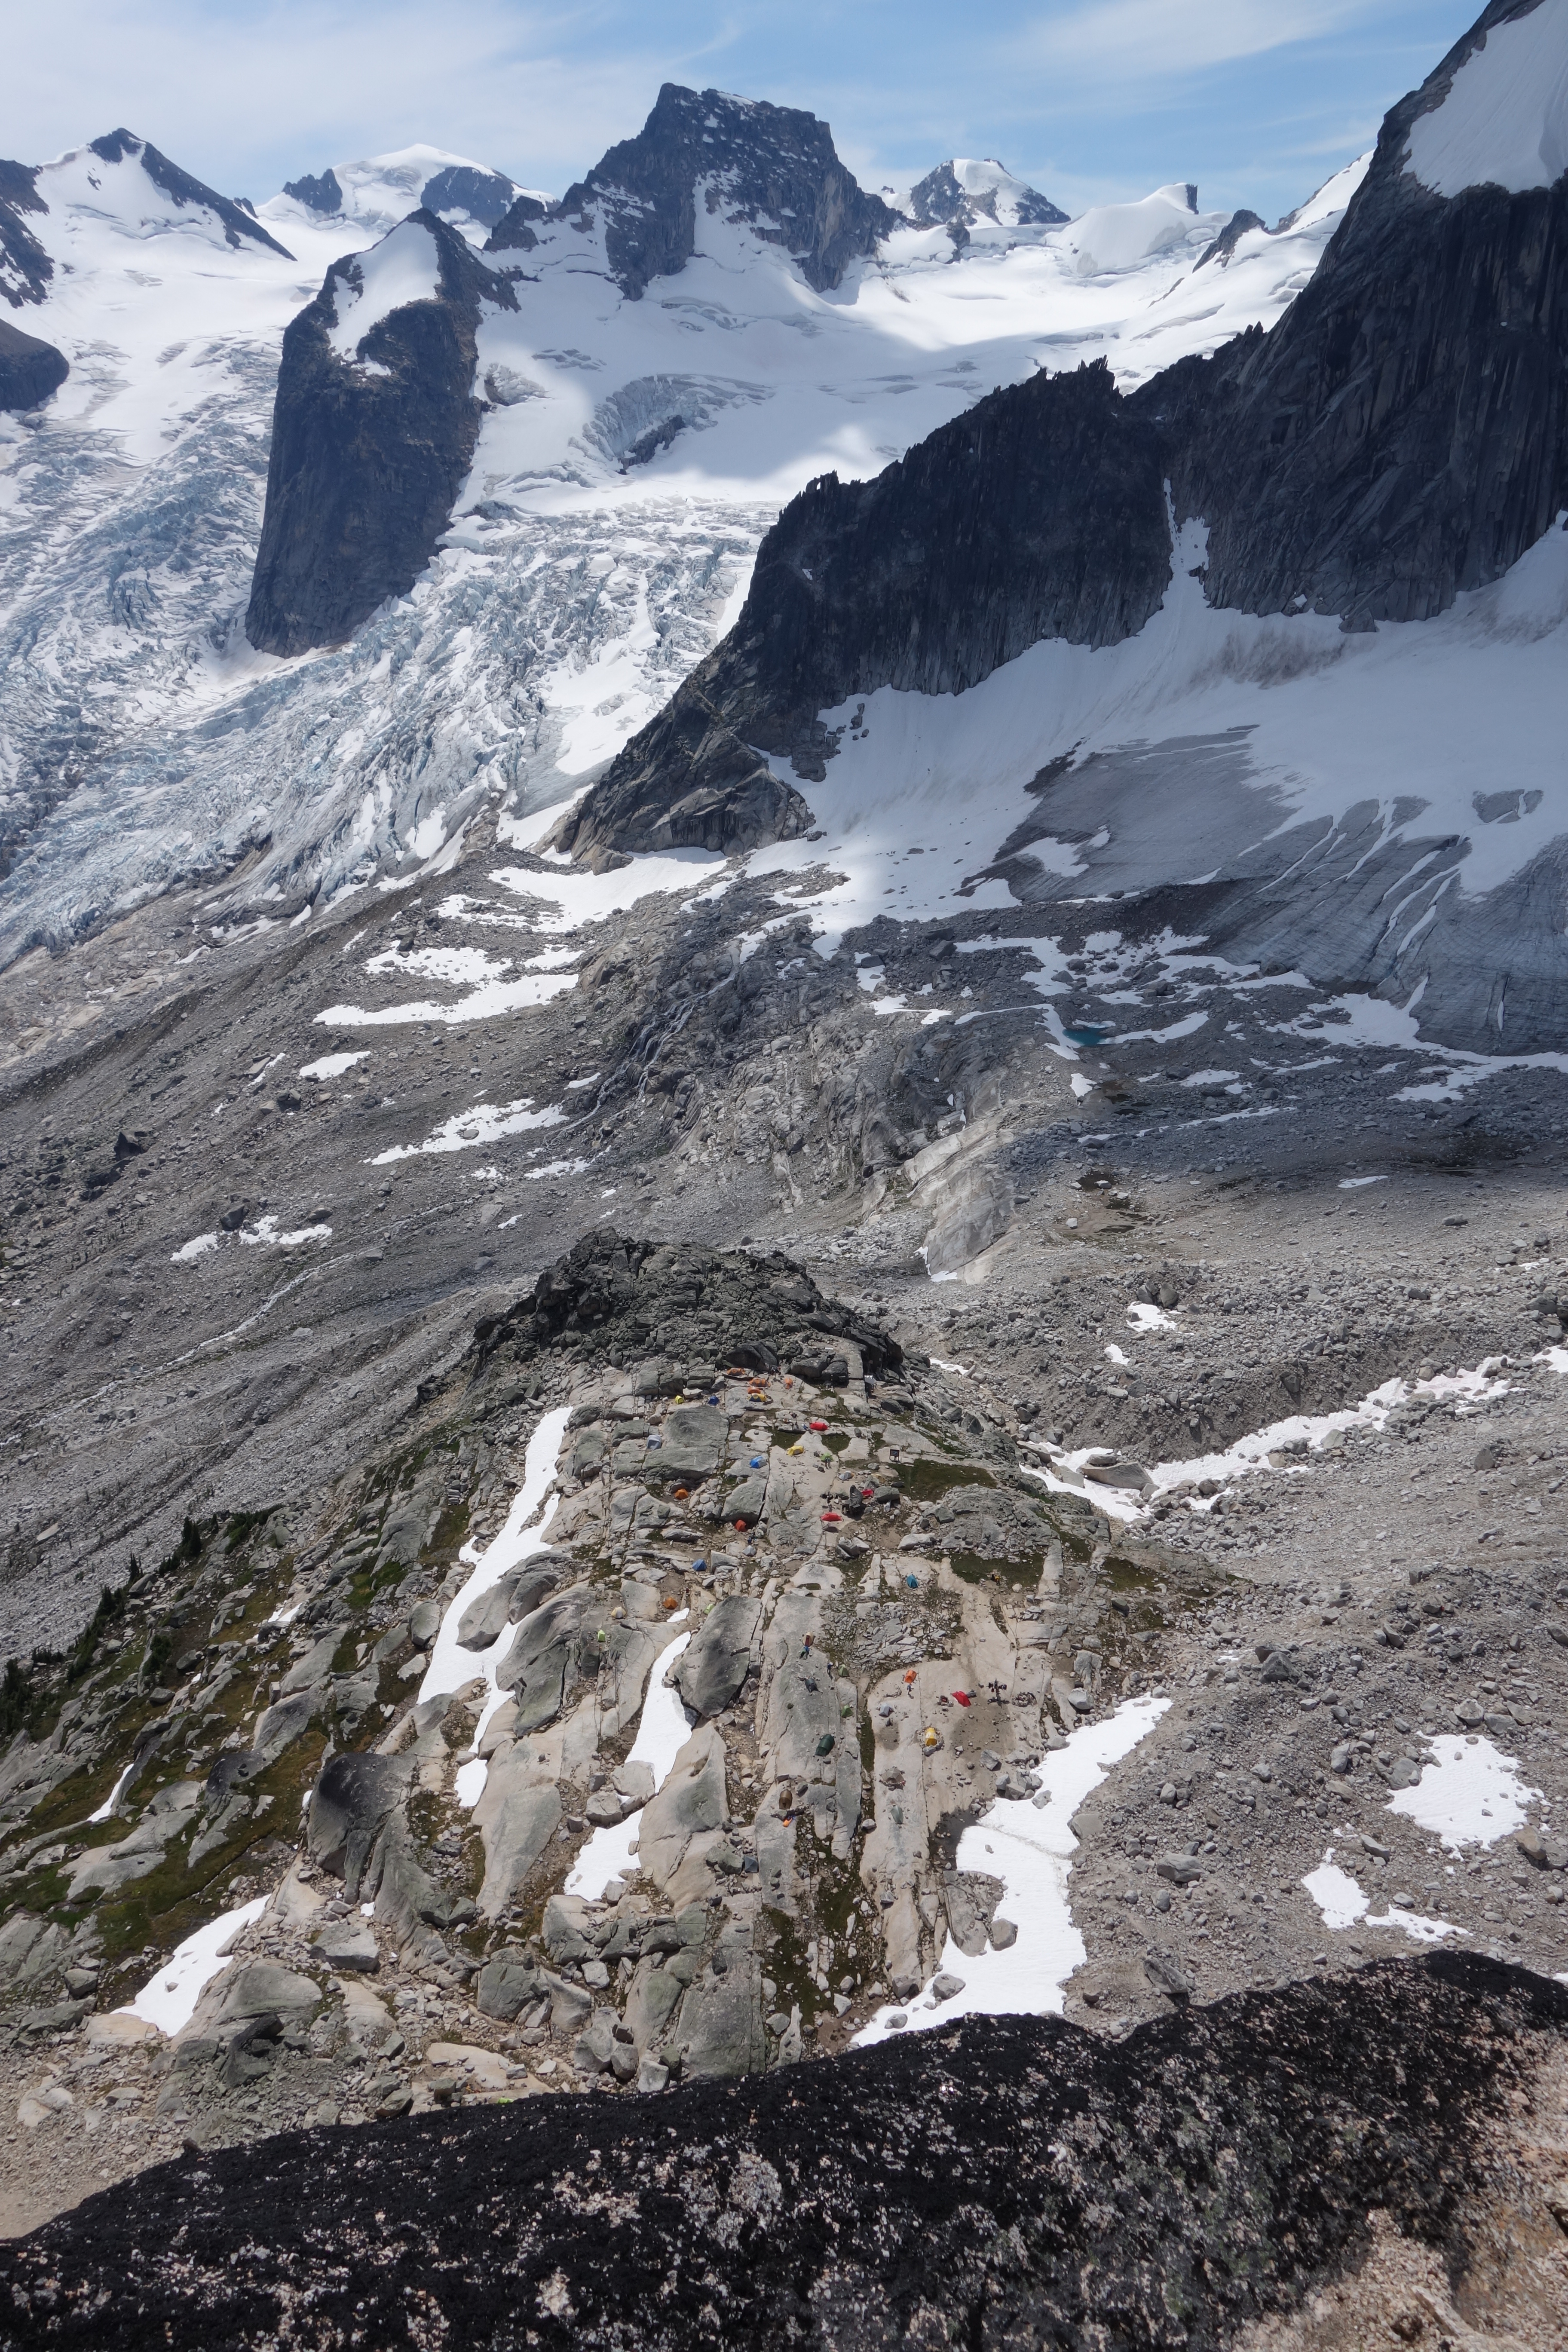
Looking down on Applebee camp
After lunch we scrambled/hiked down to the lake just above Applebee camp. We stopped, soaked our feet, and napped for a while taking in the view. Then after an hour or so we headed back to the Kain hut to make dinner and go to bed early.

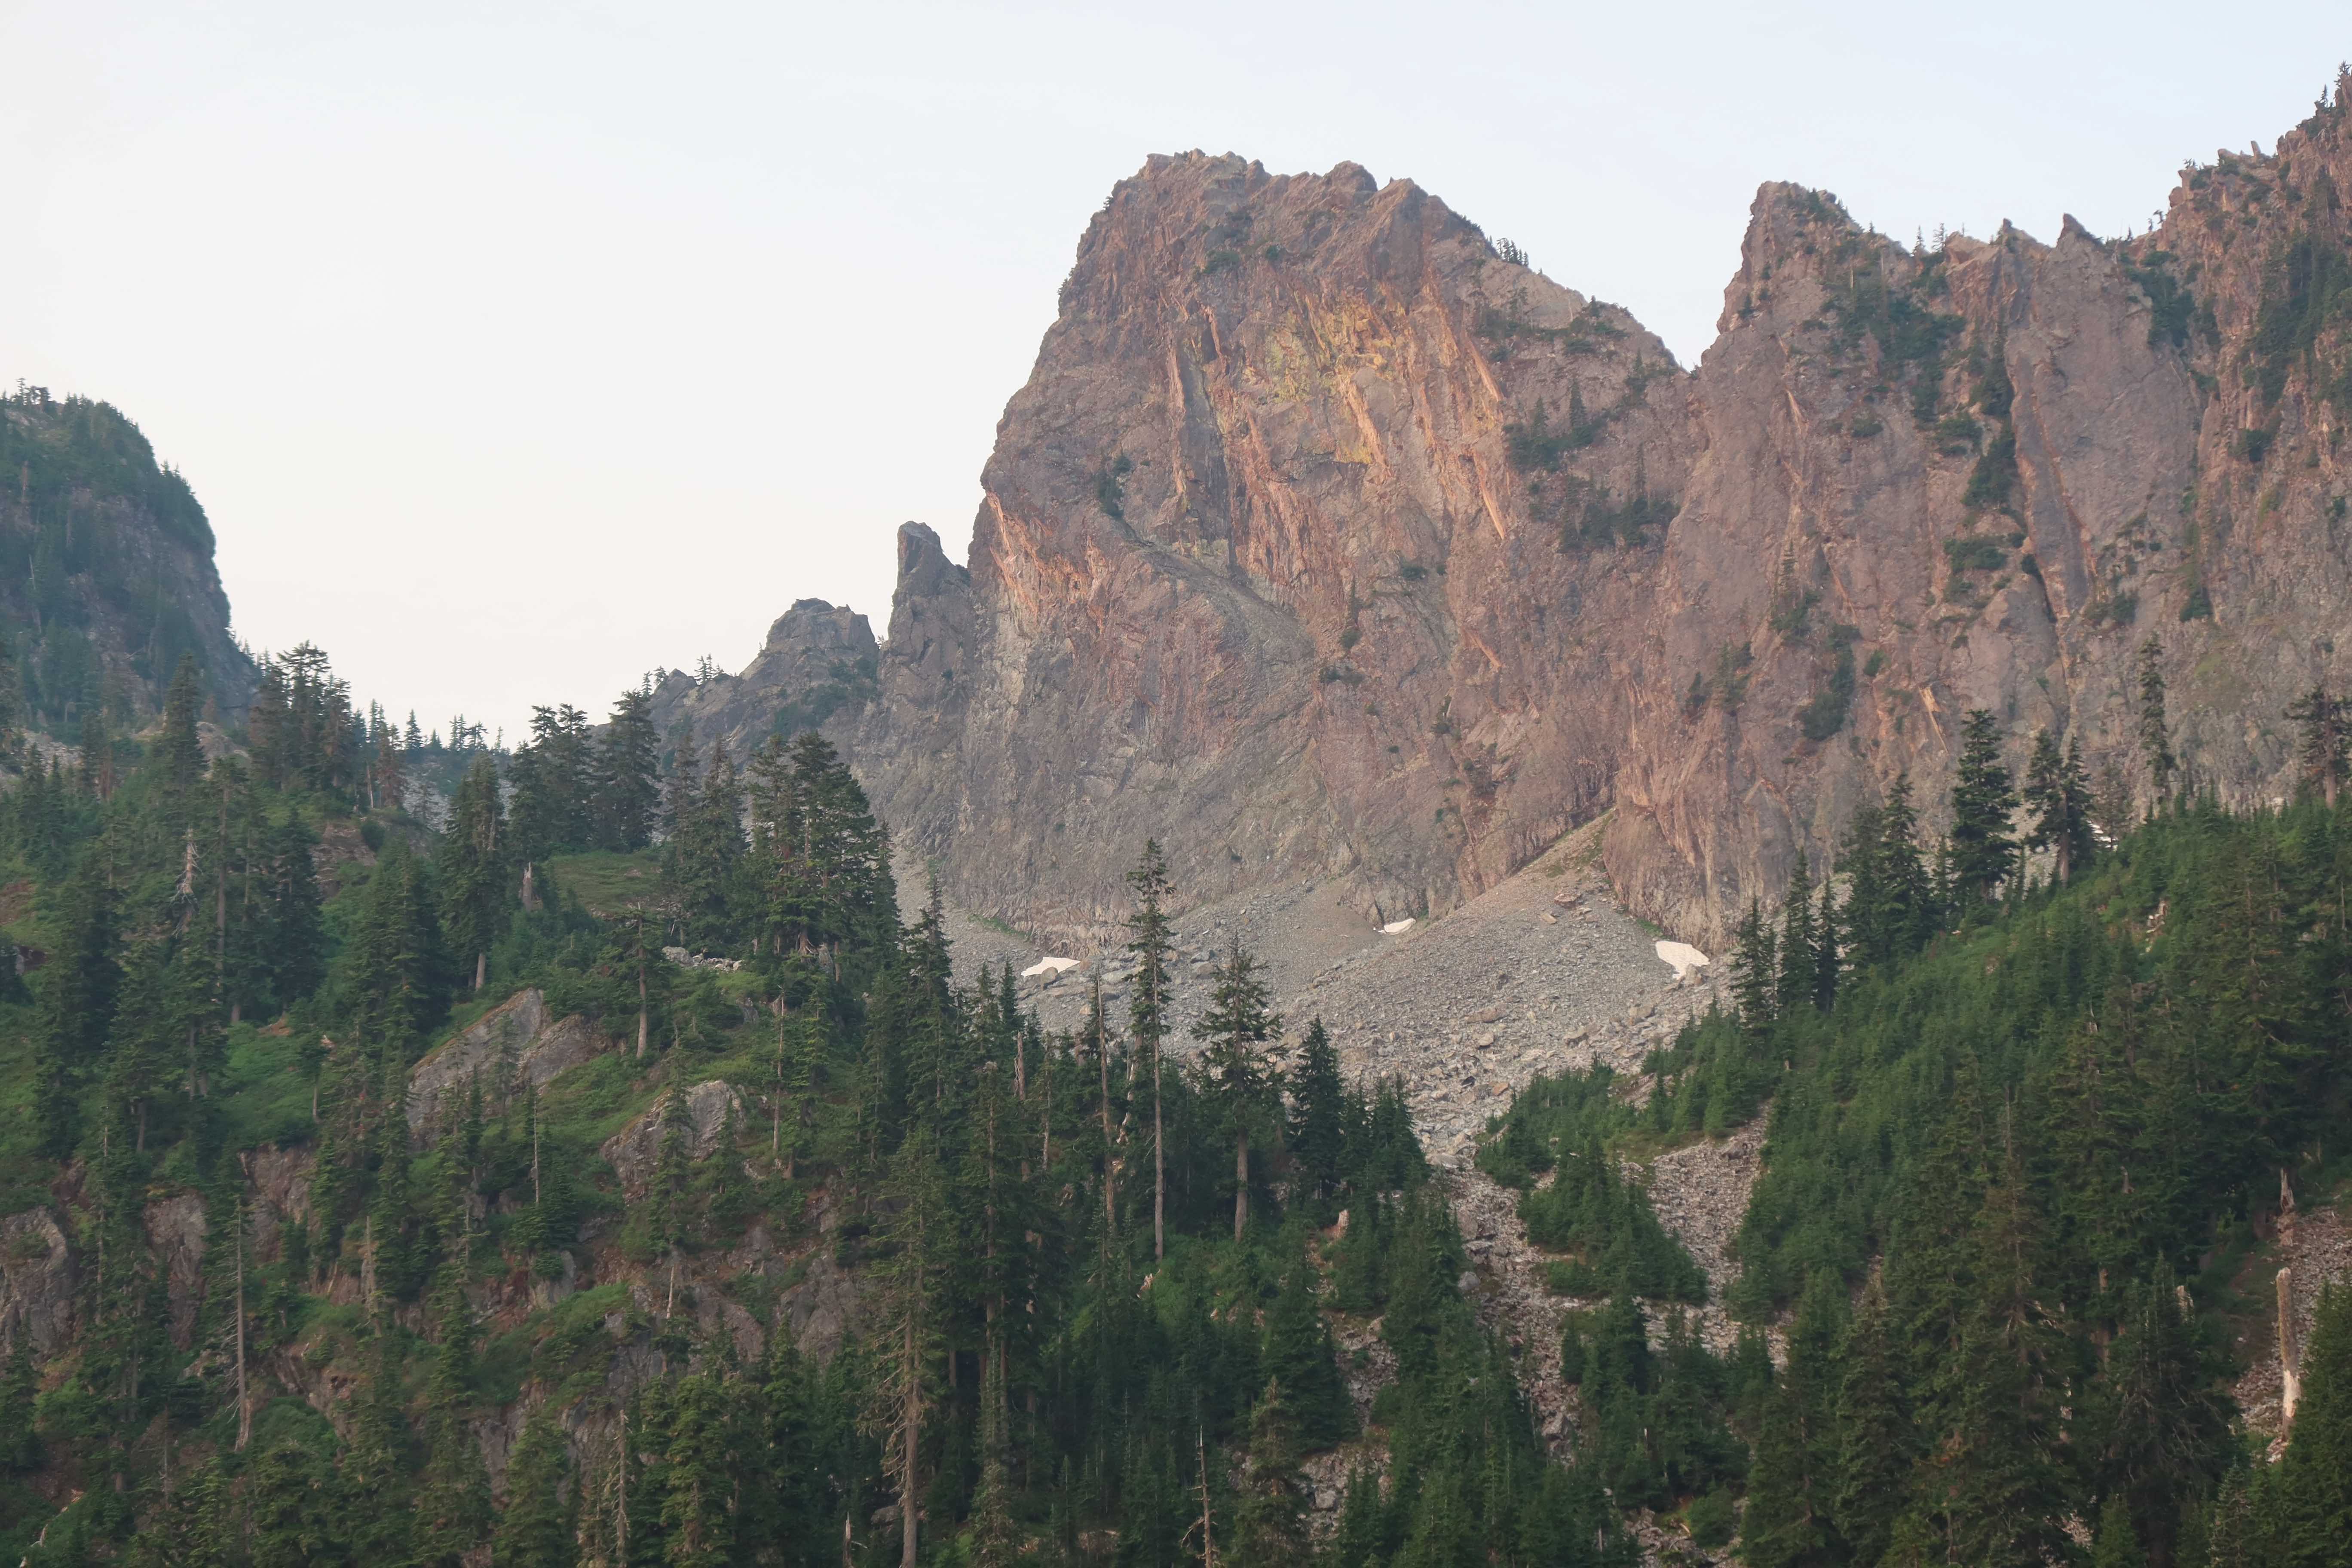
View from the lake of Bugaboo Spire and Crescent Towers
Day 3 – Lion’s Way on Crescent Towers (5.6)
We left the hut around 8am and headed up through Applebee, around the sides of the lakes and over the side of the Crescent glacier to get to the base of the Crescent towers. Lion’s Way tops out on the summit of the central tower, which wasn’t visible until we were on the glacier. We marched up a snowfield and then transitioned onto boulders to get to the base of the climb (which was luckily pretty obvious.) After snacking, gearing up and poking around the base Ben started the first pitch at 11:15.

Ben on the approach

Andrea on the edge of the Crescent Glacier about to transition onto the boulder feild

Boulder field with the Crescent Glacier in the distance
We had been warned that this climb was notoriously hard to navigate, and that proved true. We thought we had totally done the climb correctly until we looked at a blog 2 days later and saw that our 5.6 corner was different than the one on route. The climb was supposed to be 6 pitches, but we ended up making it 8. We were on route for some of the pitches at least, but Ben ended up leading two 5.6+ cracks 🙂 All in all the climbing was super awesome though, the granite there was sticky with plenty of tiny features. Makes me want to go back and climb more! Here is the breakdown of the pitches we did:
Pitch 1: Easy 4th class blocky moves.
Pitch 2: 5.3, meandered right then straight up. Obviously I did this wrong as we didn’t end up in the right corner for the 3rd pitch. We did end up at an obviously much climbed crack/slight corner that looked 5.6-ish

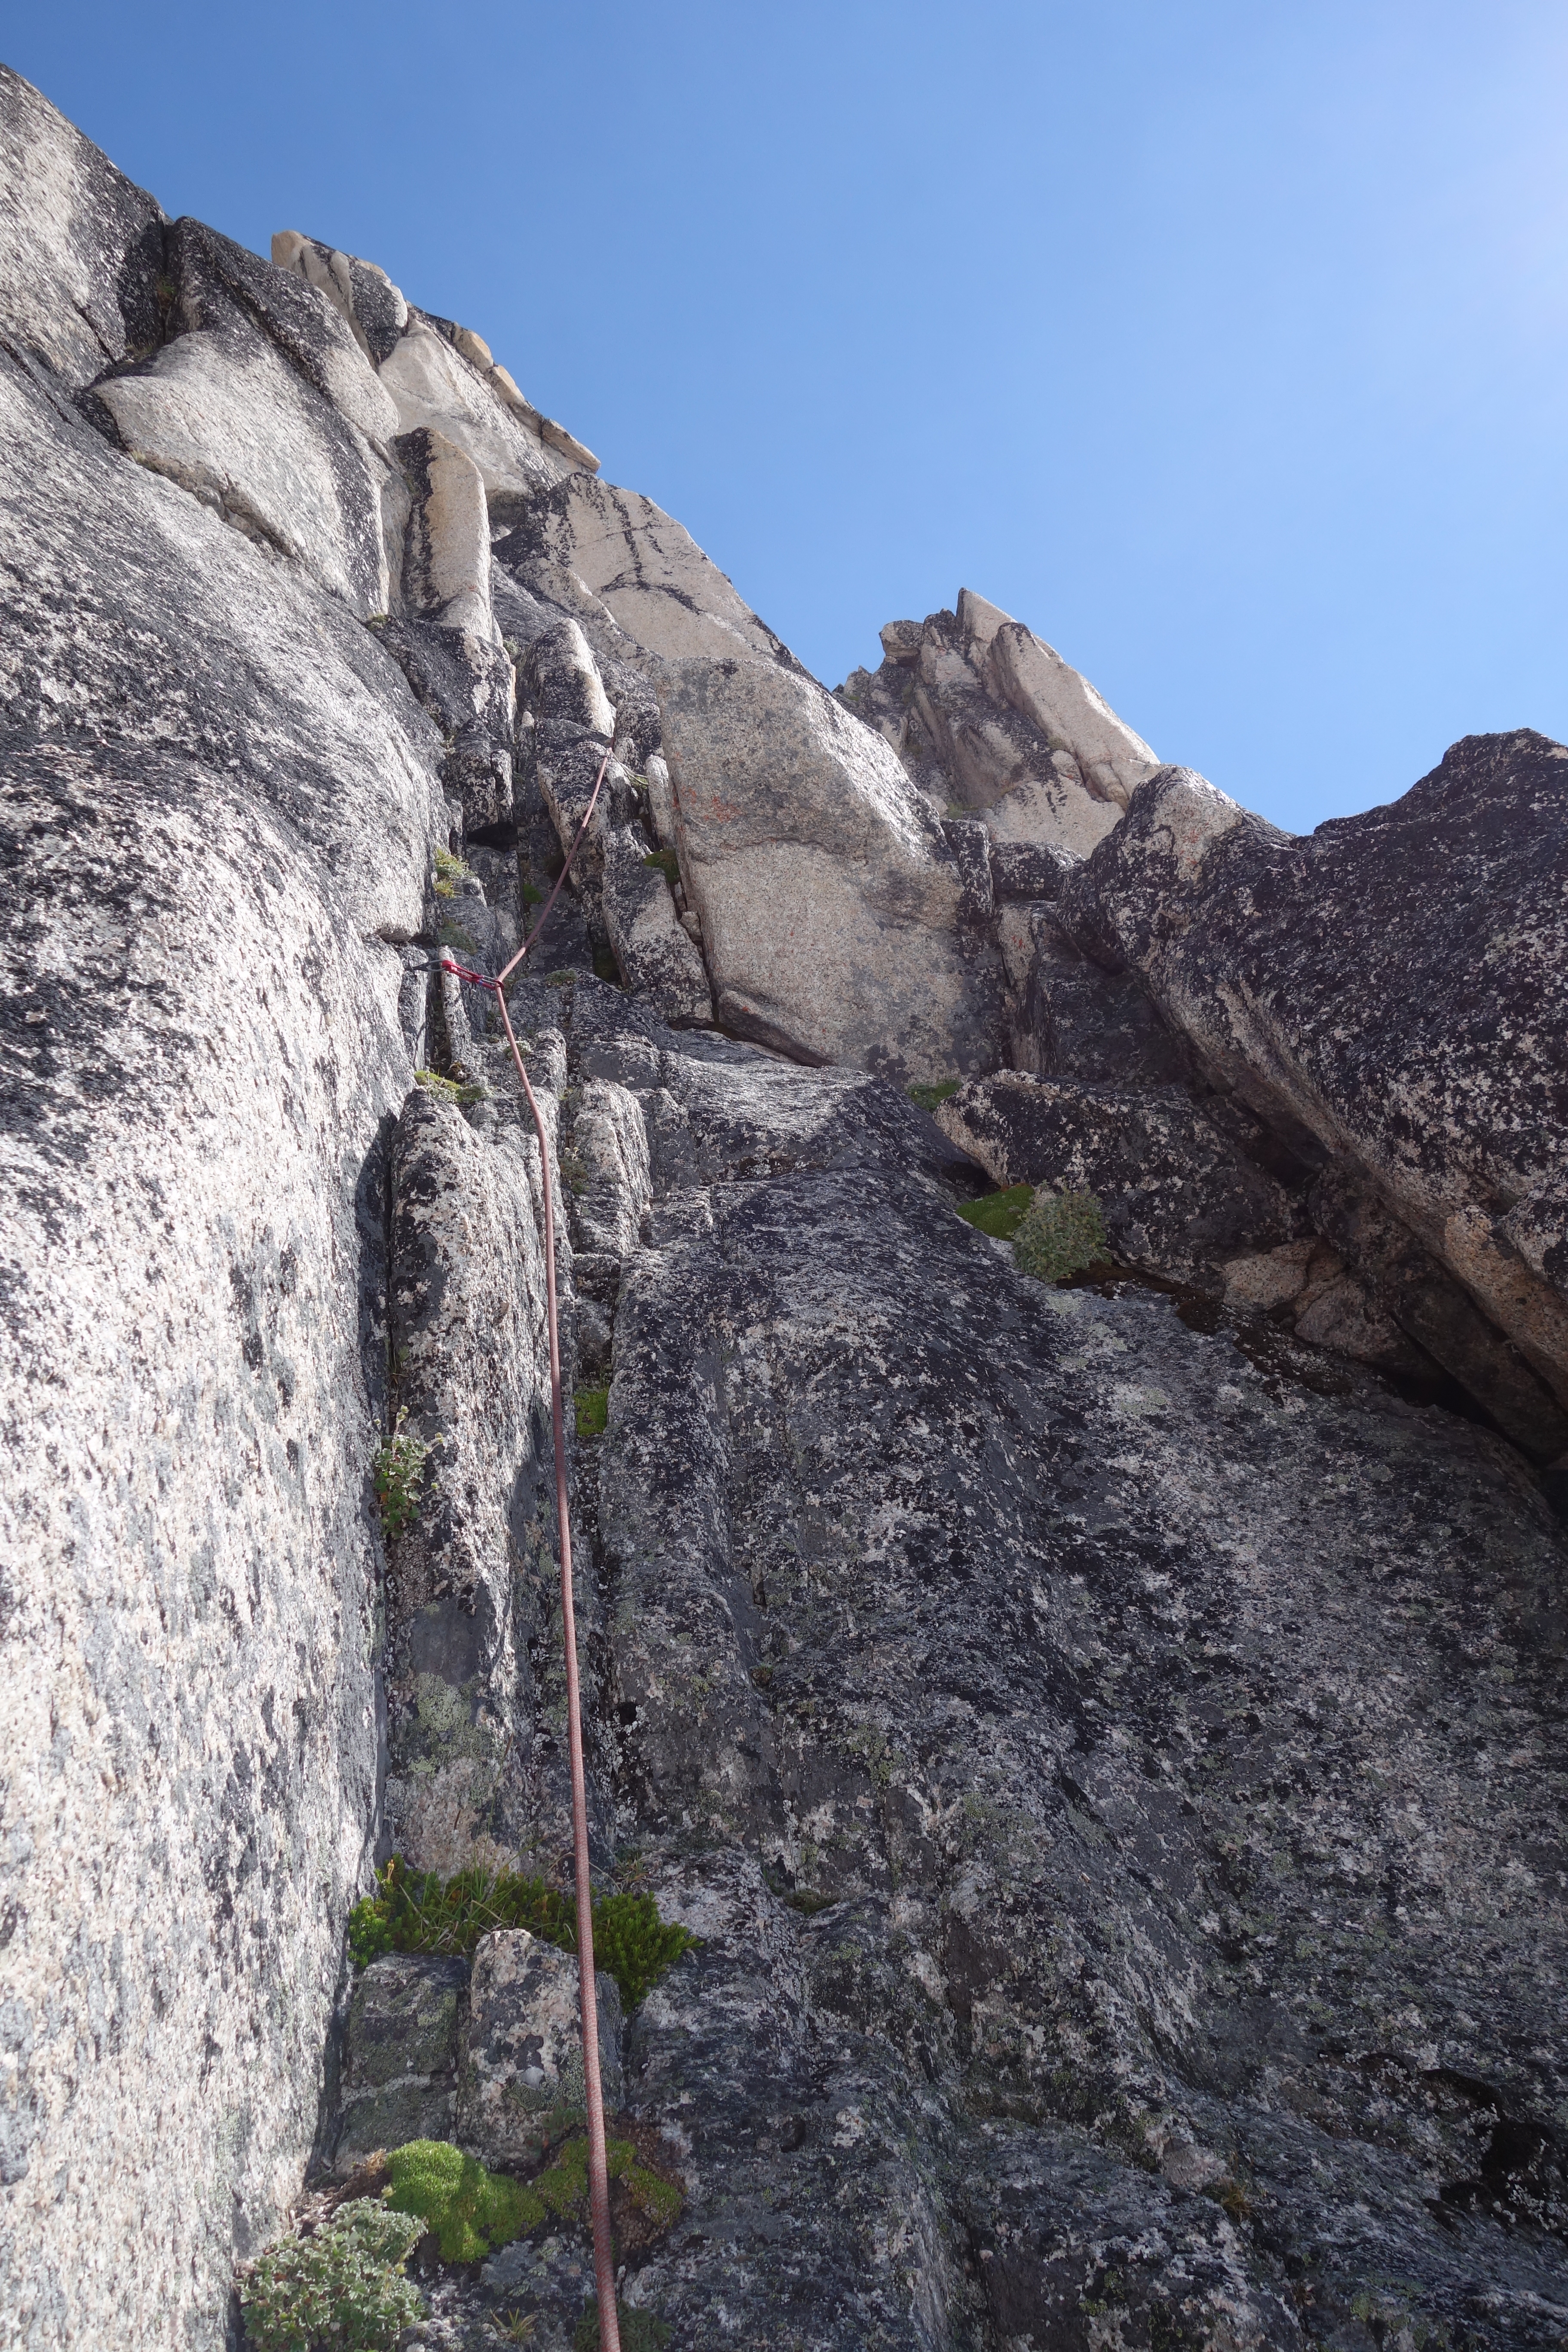
Andrea leading up the 2nd pitch
Pitch 3: 5.6+ crack/ kind of a corner. This had obviously been climbed many times as the crack was clean. If climbed like a crack it was closer to a 5.8, but apparently if you reached in far enough there was good fingers. I was just glad Ben lead this pitch and not me!
Pitch 4: 5.6 at the top. Blocky moves then finished with a crack to a ledge then a flake.

On the top of the 4th pitch
Pitch 5: 5.6, slab that transitioned to a crack
Pitch 6: Easy low 5th slab (I love slab!!). Lots of horizontal cracks for gear
Pitch 7. 5.5-ish. An arête with a crack to the right that took gear well. Finsh was very blocky, 4th class.
Pitch 8: Easy 4th class to low 5th with one hard move to gain the summit at the end.

Climbers on the Donkey Ears

Andrea on the last pitch
North tower in the background
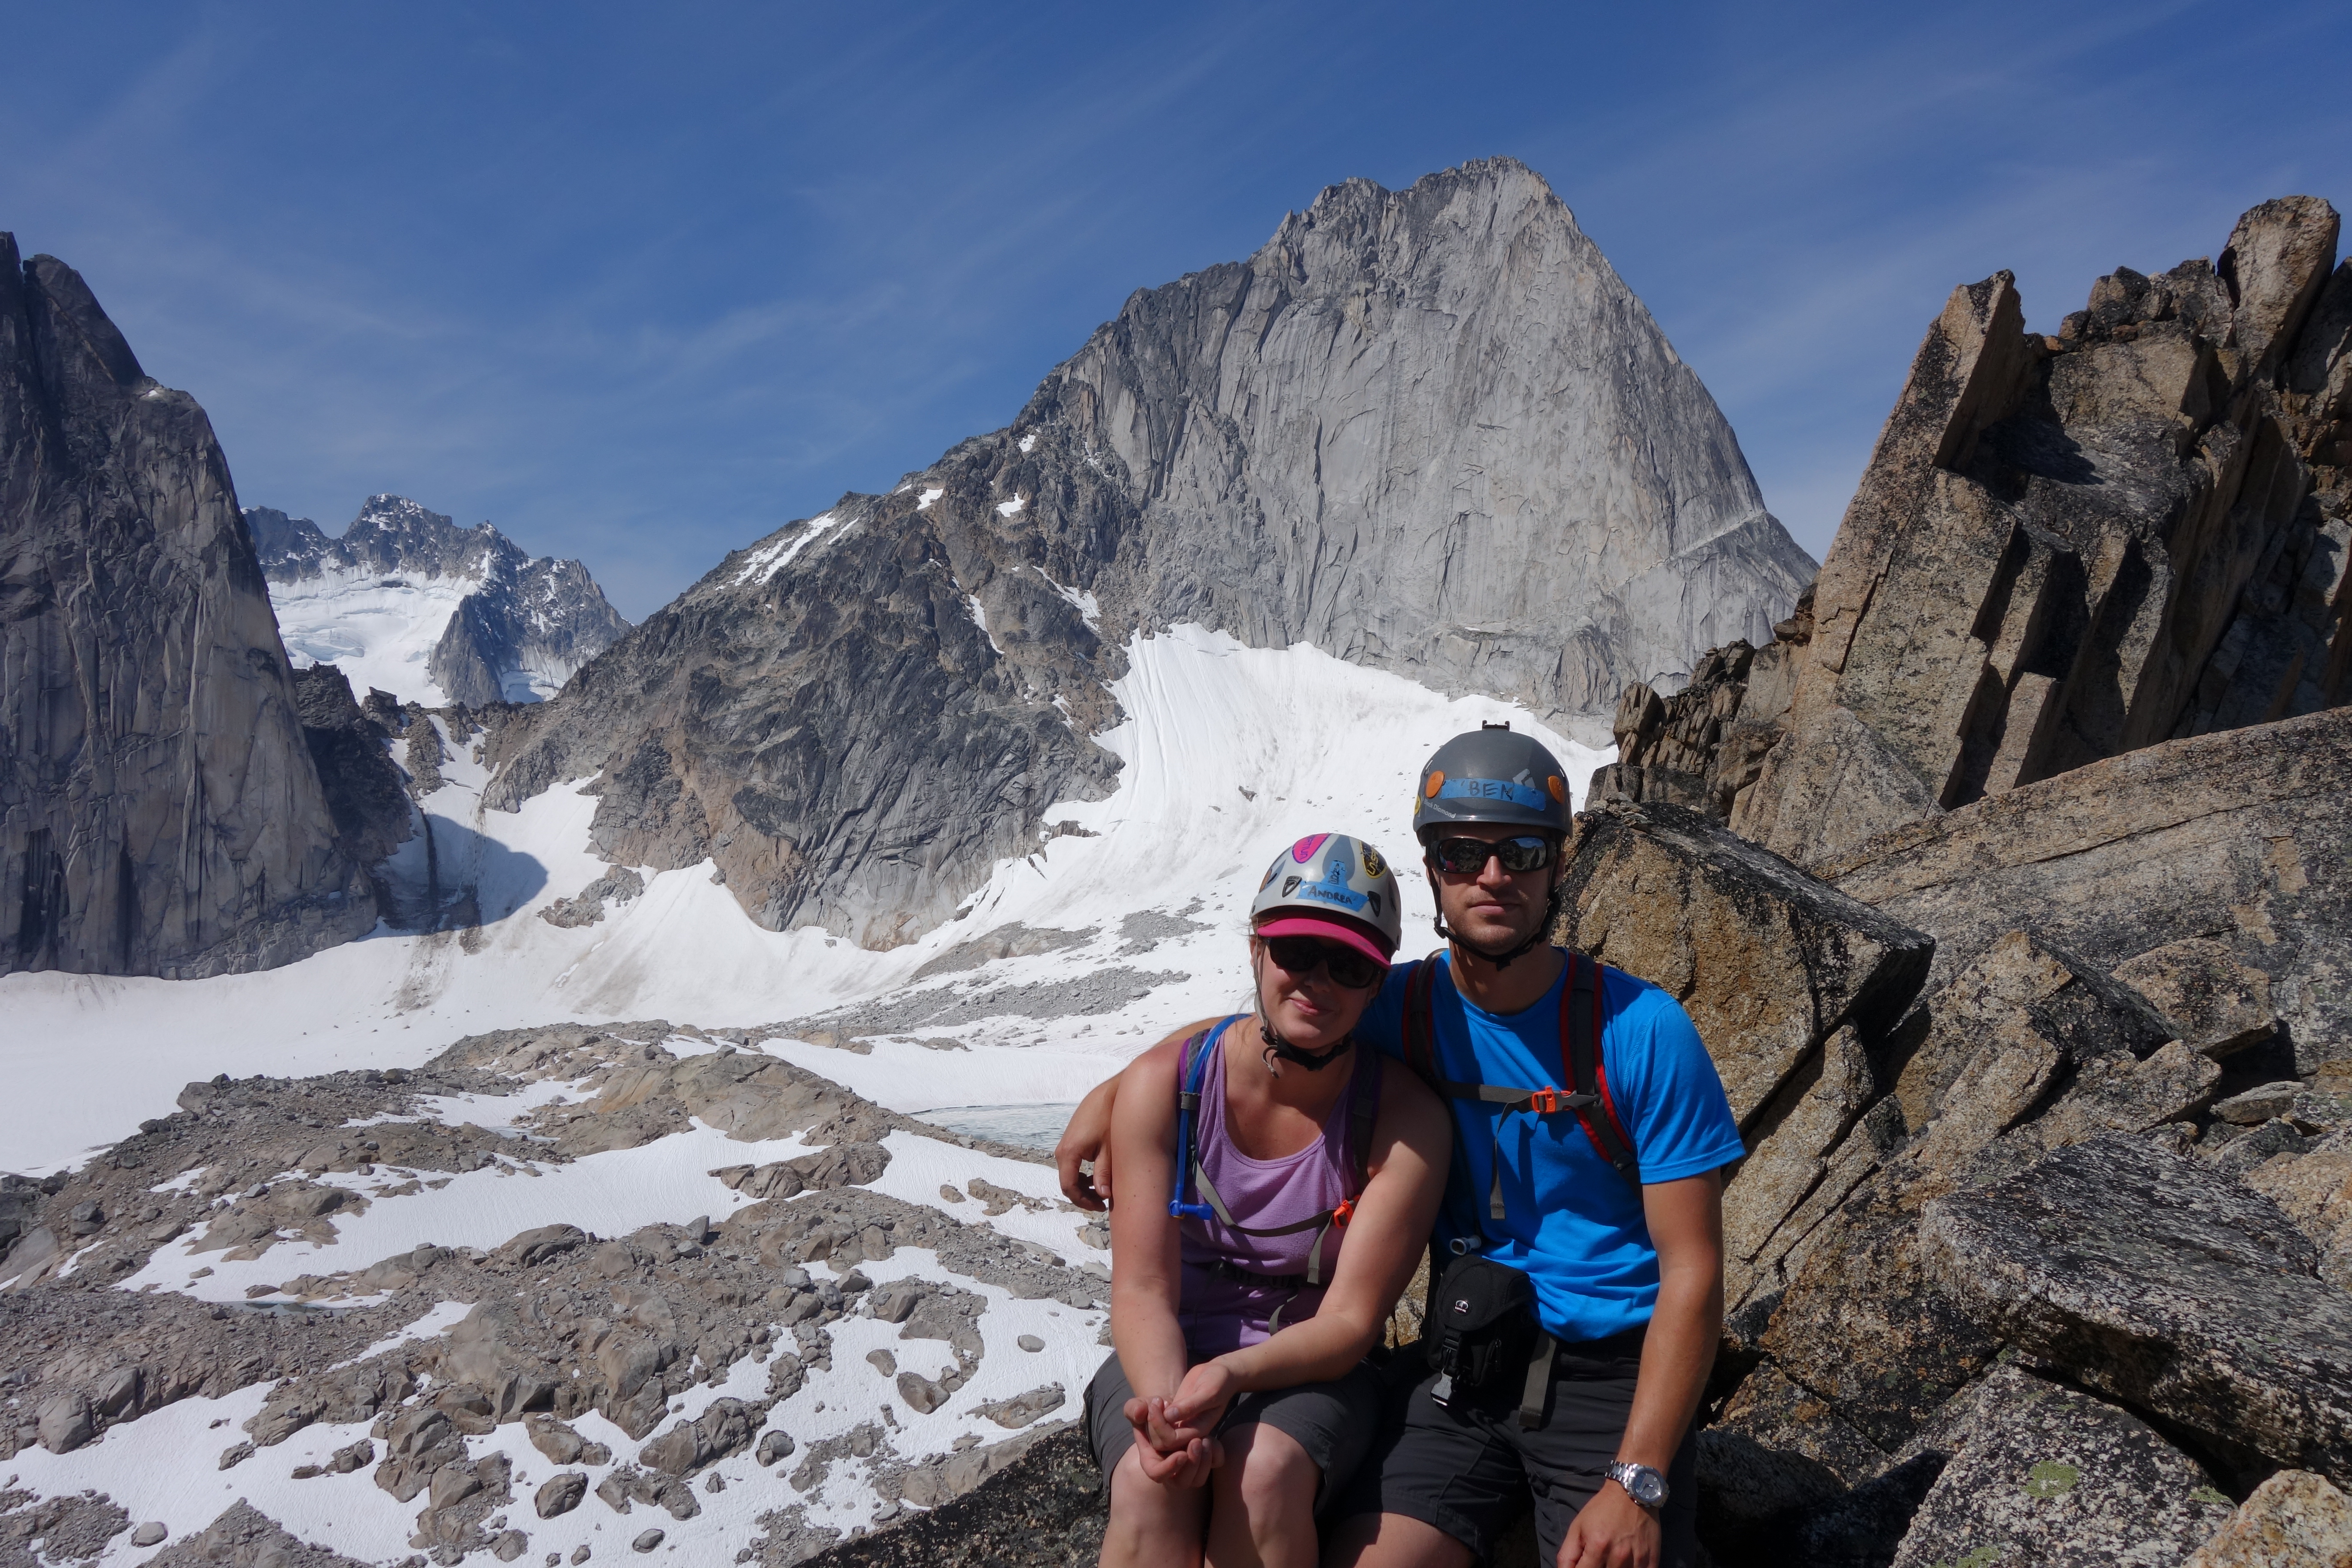
Andrea and Ben with Snowpatch in the background
All in all we had a great time. We chilled out on the summit, ate lunch and took in the views. After we descended down via the gully trail, with one rap at the only rap station (obvious from the trail). The rap wasn’t entirely necessary, the party in front of us just went down the trail, but we were not in a rush so why not just rap down?

Ben rapping down
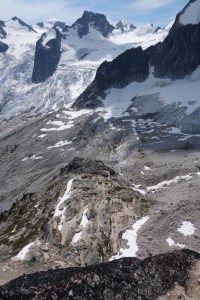
On the way back to the hut we decided to make the trip a loop, so we crossed the Crescent Glacier, and made our way to under the Bugaboo-Snowpatch Col since we wanted to get a look. This Col gives access to some of the Bugaboo Spire climbs (including the very popular Kain route) and Pigeon Spire (which is supposed to be one of the best 5.4 routes in the world.) The Col looked scary, we were very glad we decided to do Lion’s Way and not Pigeon (which had been our earlier plan.) We got back to the hut around 8pm, making it a 12 hour day. (To put this in context the book says Lions Way, hut to hut, should take 6-7 hours. We moved slow and took lots of breaks to enjoy the beautiful landscape since we were in no rush.)

Looking back across the Crescent Glacier at the Crescent Towers. Lion’s way is on the central tower, the 2nd from the left.

Close-up of the Bugaboo-Snowpatch Col
Day 4 – Hike out
Self explanatory. It took us 2 hours, and sprinkled a bit on the way down. We then drove north to Golden and had some much deserved pizza and beer 🙂