
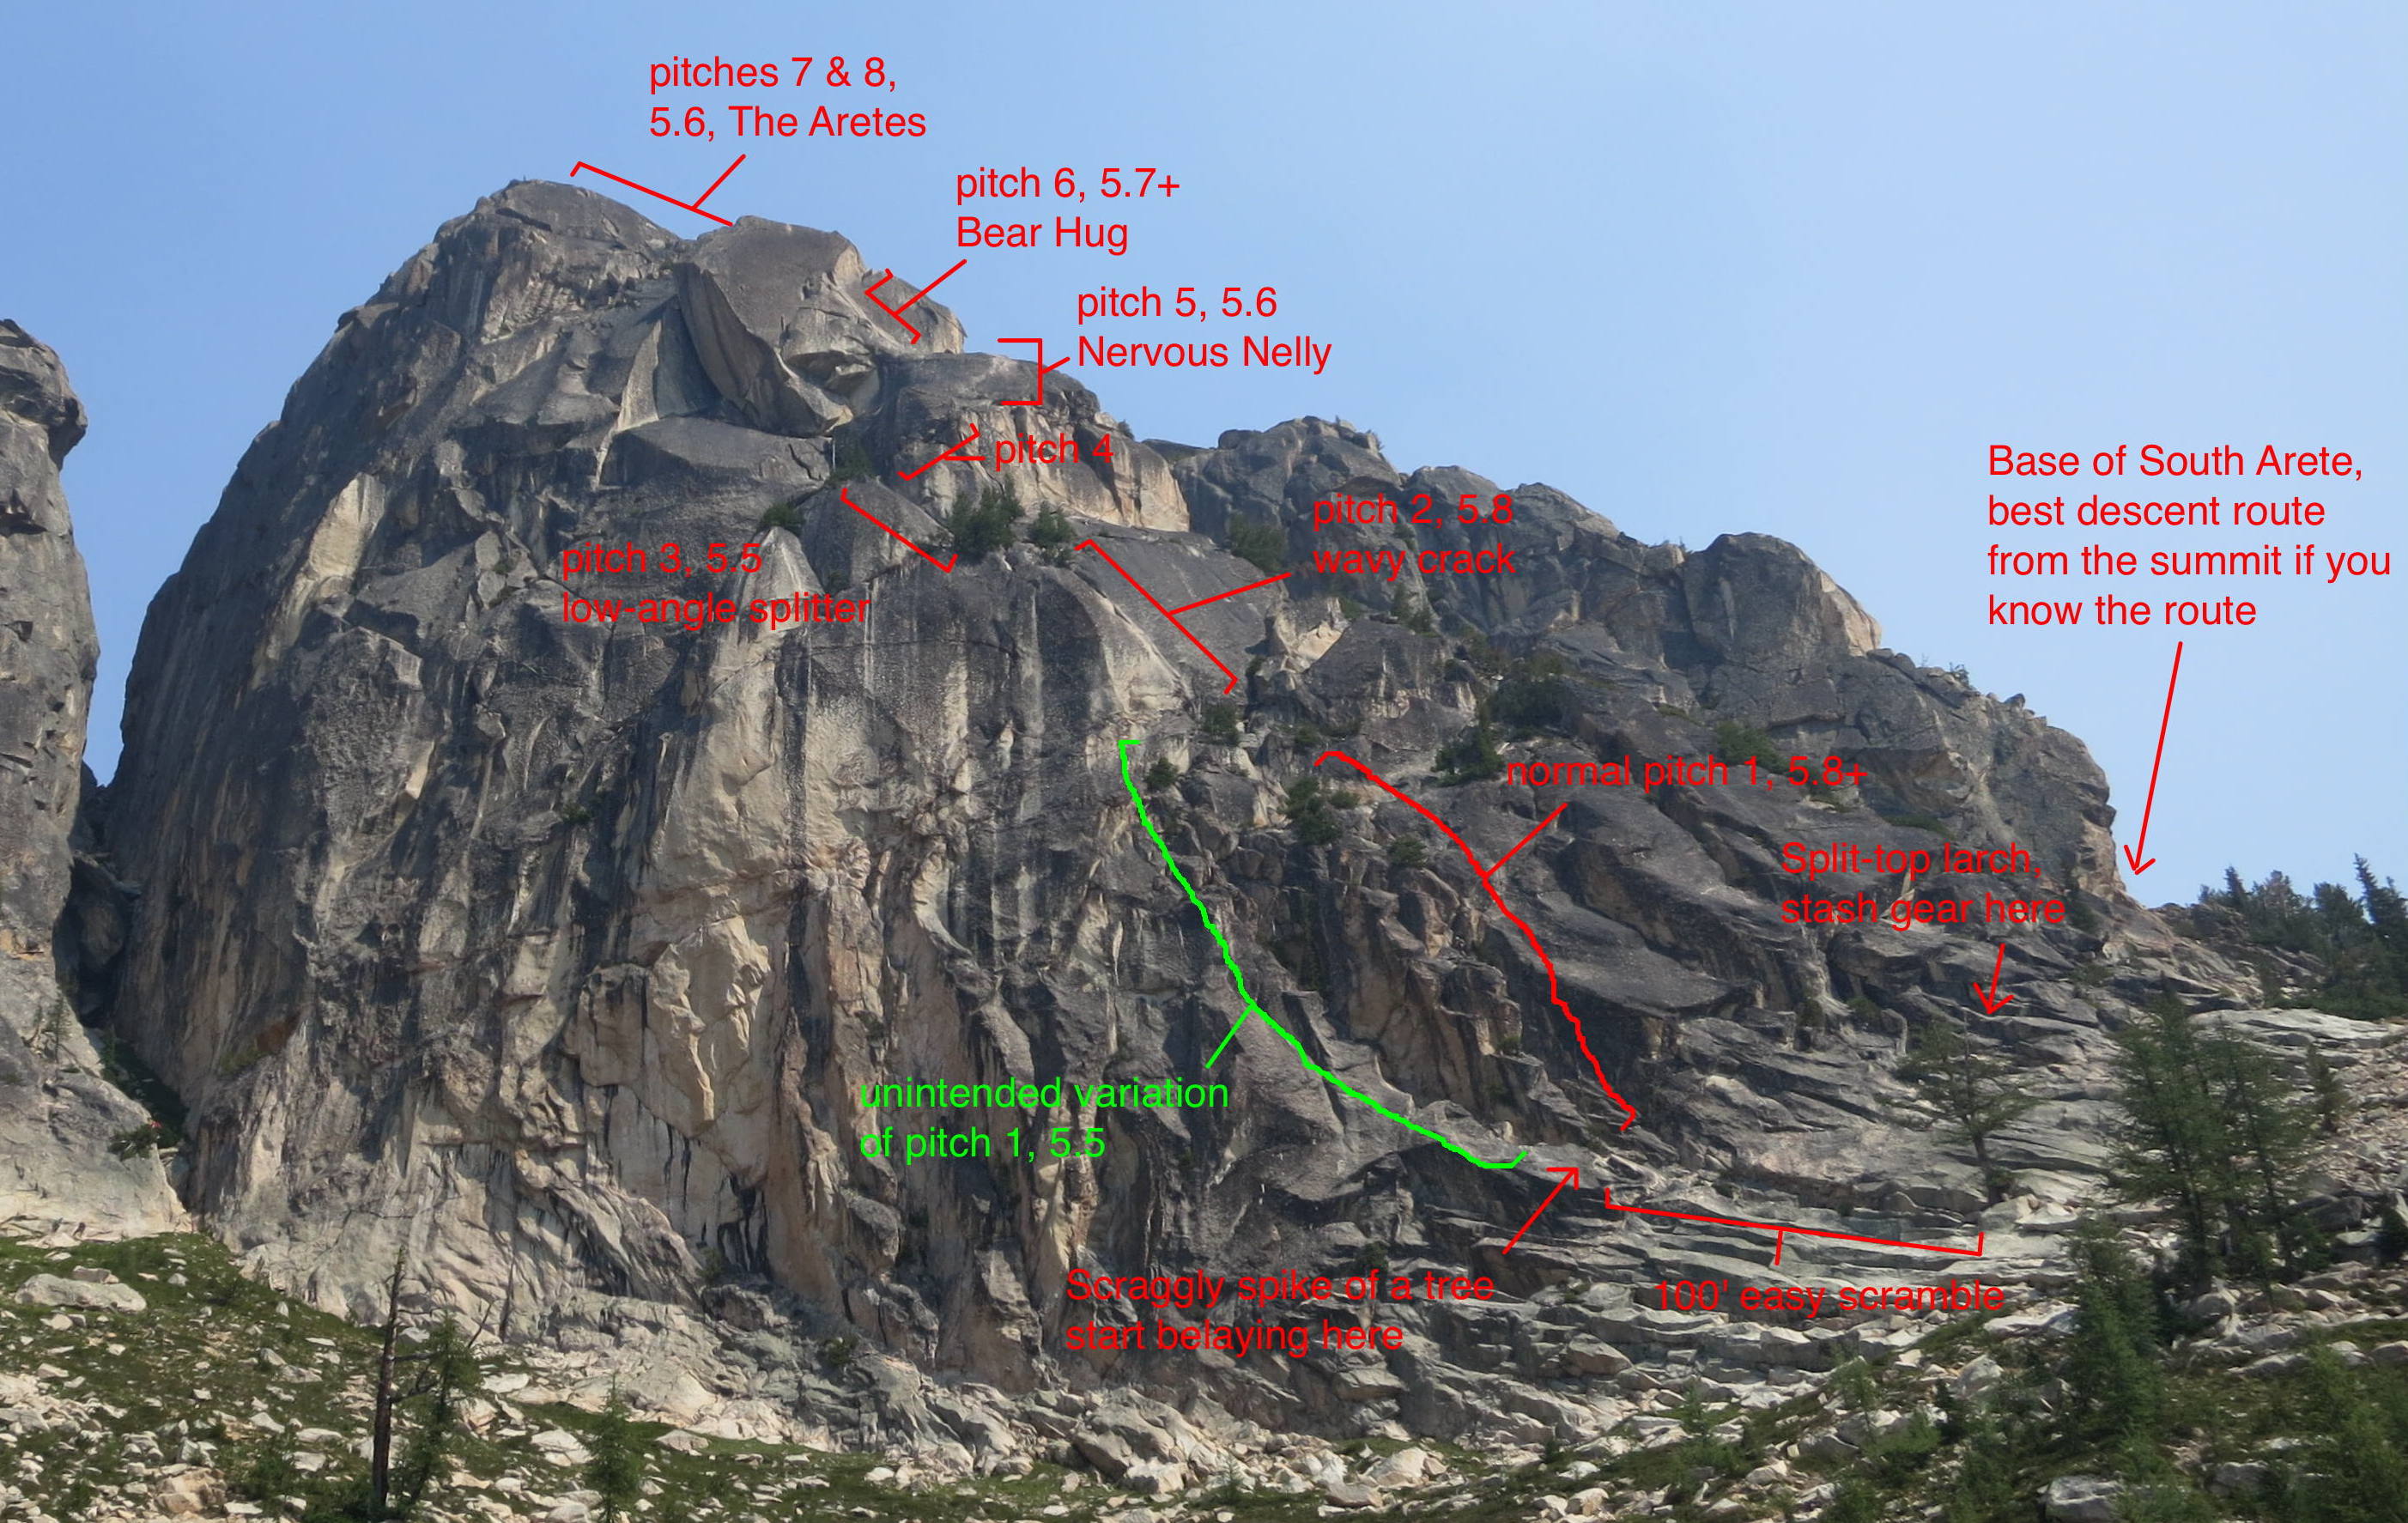
The Southwest Rib of South Early Winters Spire is supposedly at 10-pitch 5.8 rock climb. Erik Turner & I swung leads on it on Sunday, August 10, 2014. The climbing-specific parts of this trip report will make the most sense if you have Ian Nicholson’s “Washington Pass Climbing” book open to this route’s topo as you read this.

Super Moon setting at dawn
Blue Lake TH parking lot bivy. Asleep by 10pm, 3am alarm, hiking by 3:20, at the base of the climbing route by 5:20. With a super-moon up almost exactly opposite the hours of the sun, our approach was well-lit, and we didn’t even need headlamps for some of the more open parts. (Also, a sleep-mask & ear plugs were important since there were around 8 other vehicles of people camped in that same small parking lot.) You’ll be fine if you go when there’s no moon, just time it so that you’re identifying the route at dawn, which we did as well. A tall larch that forks at the top marks the entrance to the route. That’s a great place to don harness & rock shoes, gear up, hang your pack, but keep the rope coiled & carry it. We took our time, forced down extra fluids & calories to keep our climbing pack light, and tried to photograph the amazing moon through the strongly-scented smokey haze drifting from the Central Washington wildfires.
 We started climbing just before 6am. Beyond the split-top larch is a smaller sad-looking vertical spike of a pine tree with not much green left on it, which Erik belayed me from. We figured out after-the-fact that the route goes straight up from there, but I had interpreted the topo as suggesting a further traverse, so I went farther left before climbing up. I think I found a 5.5 alternative to the 1st pitch, as there was no “awkward small roof” along the way I went. At just about a full rope-length, I was able to spot the wavy crack above me.
We swung leads all day, so Erik led the wavy crack, which is strenuous but doable.
Pitch 3, the low-angle 5.5 splitter
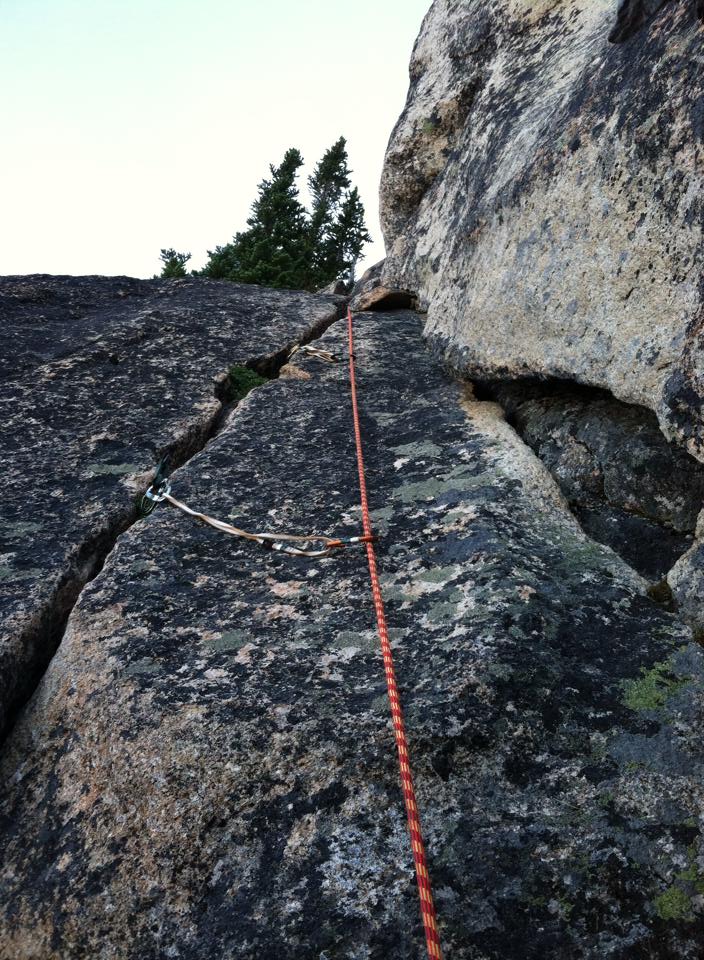
I took the 5.5 splitter on the 3rd pitch, which is way off to the left, and was pretty low-angle for a rock climb. Once on the great ledge at the top of the 3rd pitch, you can see the Boving Roofs above you, and the topo shows going right, but there’s two rightward options once you’re there: go up and then right, or go right immediately off this ledge on a 4th class traverse. That lower 4th class traverse is what you want. The 4th pitch was ridiculously short. If I did it again, I’d link the 3rd & 4th pitches, skipping the belay-tree on the great ledge since it would make too acute of a corner for the rope between the pitches, and use a lot of long runners. You’d probably still get some rope drag even then, but the 3rd & 4th pitches are so short it felt silly not to have linked them.

I led pitch 5, “Nervous Nelly,” the friction slab. There’s not exactly an abundance of places to put pro, and the placements you do get aren’t the greatest, but there’s enough, and the climbing is easy given the grip that rock-shoe-rubber provides.

Erik follows on the Nervous Nelly pitch
The exposure there means no ledge-fall to worry about, so at no point did it look like there’d be bad consequences if I fell. Just make sure your belay anchor at the base of the Nervous Nelly pitch is confidence-inspiring, and that you get at least one solid piece in above it as soon as possible. At the end of pitch 5, there’s great small-to-medium cracks for a gear-anchor belay right at the base of the larger bear-hug cracks. Erik led the bear hug.

The big twin Bear Hug cracks are visible left of center, followed by a ramp to the right, where you should build a belay just before rounding the corner.
There’s a nice foot feature down left of the bear hug cracks. Erik found that the right crack was too big for our #5 cam up high, but it fit in the left crack. Above those big twin cracks an easy ramp goes right to a belay position roughly where you round the corner. It was close to 9:30am, and we took a break there to drink some water, eat some food, and put on sun screen since the sun was finally coming around the corner and hitting us. It was a hot day, and I was glad we got most of the route done while it was in the shade.

I took this picture later in the day, as we were descending the South Arete. You can see a climber who was coming up the SW Rib behind us, now on pitch 8.
I led pitch 7, “The Aretes,” which had some slightly trickier climbing that I expected. It starts around the corner with some blocky but exposed 4th class scrambling, then a single bolt to the left of the arete. The bolt is tiny and non-standard, I wouldn’t put a ton of trust in it. I got a cam in a vertical crack further left of the bolt before I got fully above it. Shortly after that I got to the horizontal crack containing a very tiny bush shown on the topo. Rather than climb the arete direct with no more pro, I followed that horizontal crack which traversed left and slightly downward, plugging in lots of pro to protect the follower. I used every sling I had on this pitch, and still ended up with some heavy rope-drag. One last tricky step with a hidden but awesome edge for the left hand, and you enter a vertical crack with a small tree in it. I got up to a giant boulder wedged in a notch in the arete, which my 20-foot cordelette went around with just a foot to spare. There’s also a huge 5” crack going up from here.
Erik led pitch 8, keeping right to look for the traverse. He ended up doing a fun variation (about 5.5 or 5.6) to the normal route by staying right of the easier slabs.
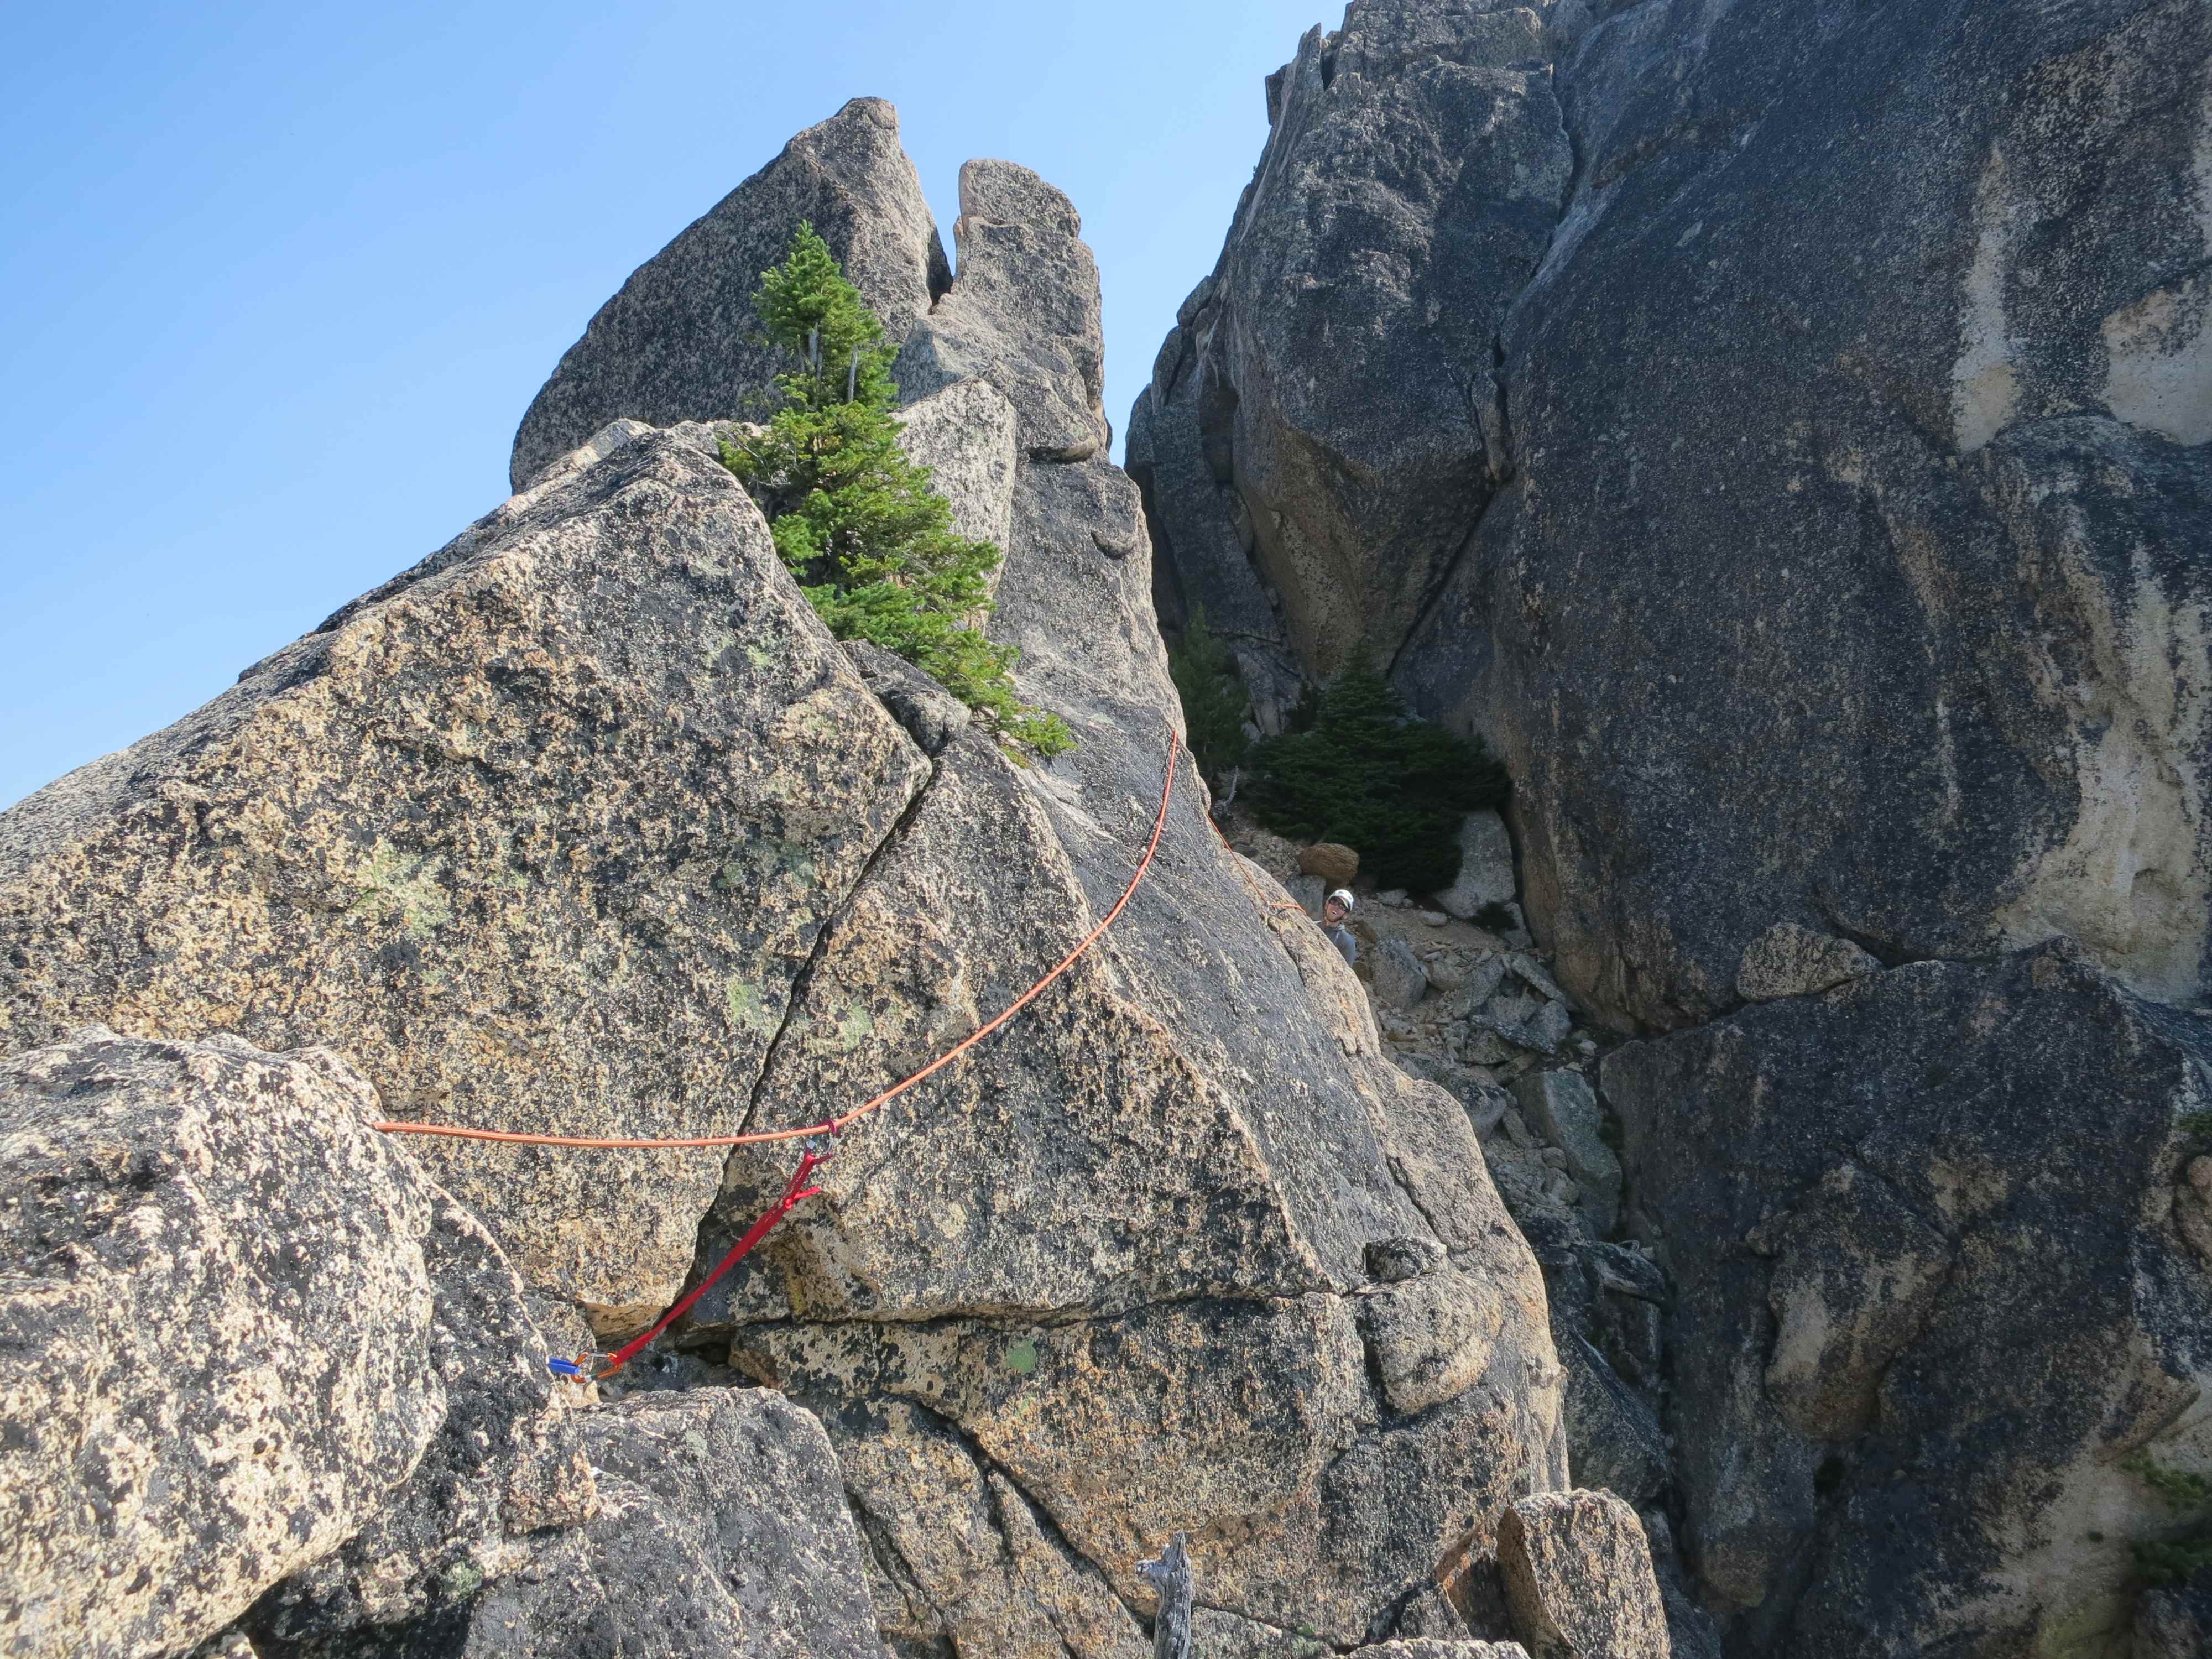
Upon seeing this medium-sized tree, you can traverse into the gully to avoid spending time rappelling into the gully later.
He found us a way into the dirty gully well above a massive whale-sized chockstone in that gully, departing from the arete at a medium sized tree. Once we were both in the gully, we broke down the belay, shortened up the rope with some shoulder coils, and just walked together the remaining 100ish feet to the top of the gully. The pitch 9 that’s labeled on the topo isn’t really a thing, it’s just walking. For pitch 10 (our 9th real pitch,) the 4” to 5” crack listed on the topo isn’t visible until you’re standing in the saddle at the top of the gulley. I followed a crack system further left than the first obvious right-leaning big crack. It was the only place all day where we placed the #4 cam we had been carrying, and honestly it wasn’t really necessary. In short order you’re on top of a huge ledge, very close to the summit boulder. I built an anchor 20’ back from the ledge’s edge in a solid crack that took #2 & #3 cams, but there are tons of options up there, as long as you don’t sling a boulder that’s just sitting flat on the ledge.
Erik & I coiled the rope and briefly climbed atop the summit boulder. There was some sort of weird flying-ant war buzzing on up there, so we scrambled off and had a lunch break a little lower. It was 11:30am, making it 5h30m for us to ascend the whole route. With the rope as a backpack-coil, we down-scrambled most of the South Arete route, above what the Mountaineers use as a Basic climb. We both soloed the whale back (a.k.a. the white camel,) since there was a good foot ledge on the side we were starting from, and that top edge gives you very solid hands. When we reached the top of the 3 rappels, we ran into a Mountaineers group with people we recognized (Tess, Christian, & Annabelle.) Someone had removed all the rap slings from the tiny tree there, so I added two blue single runners and a rap ring of my own. Next, at the top of the 2nd rappel, three old slings with rap rings were still in place.
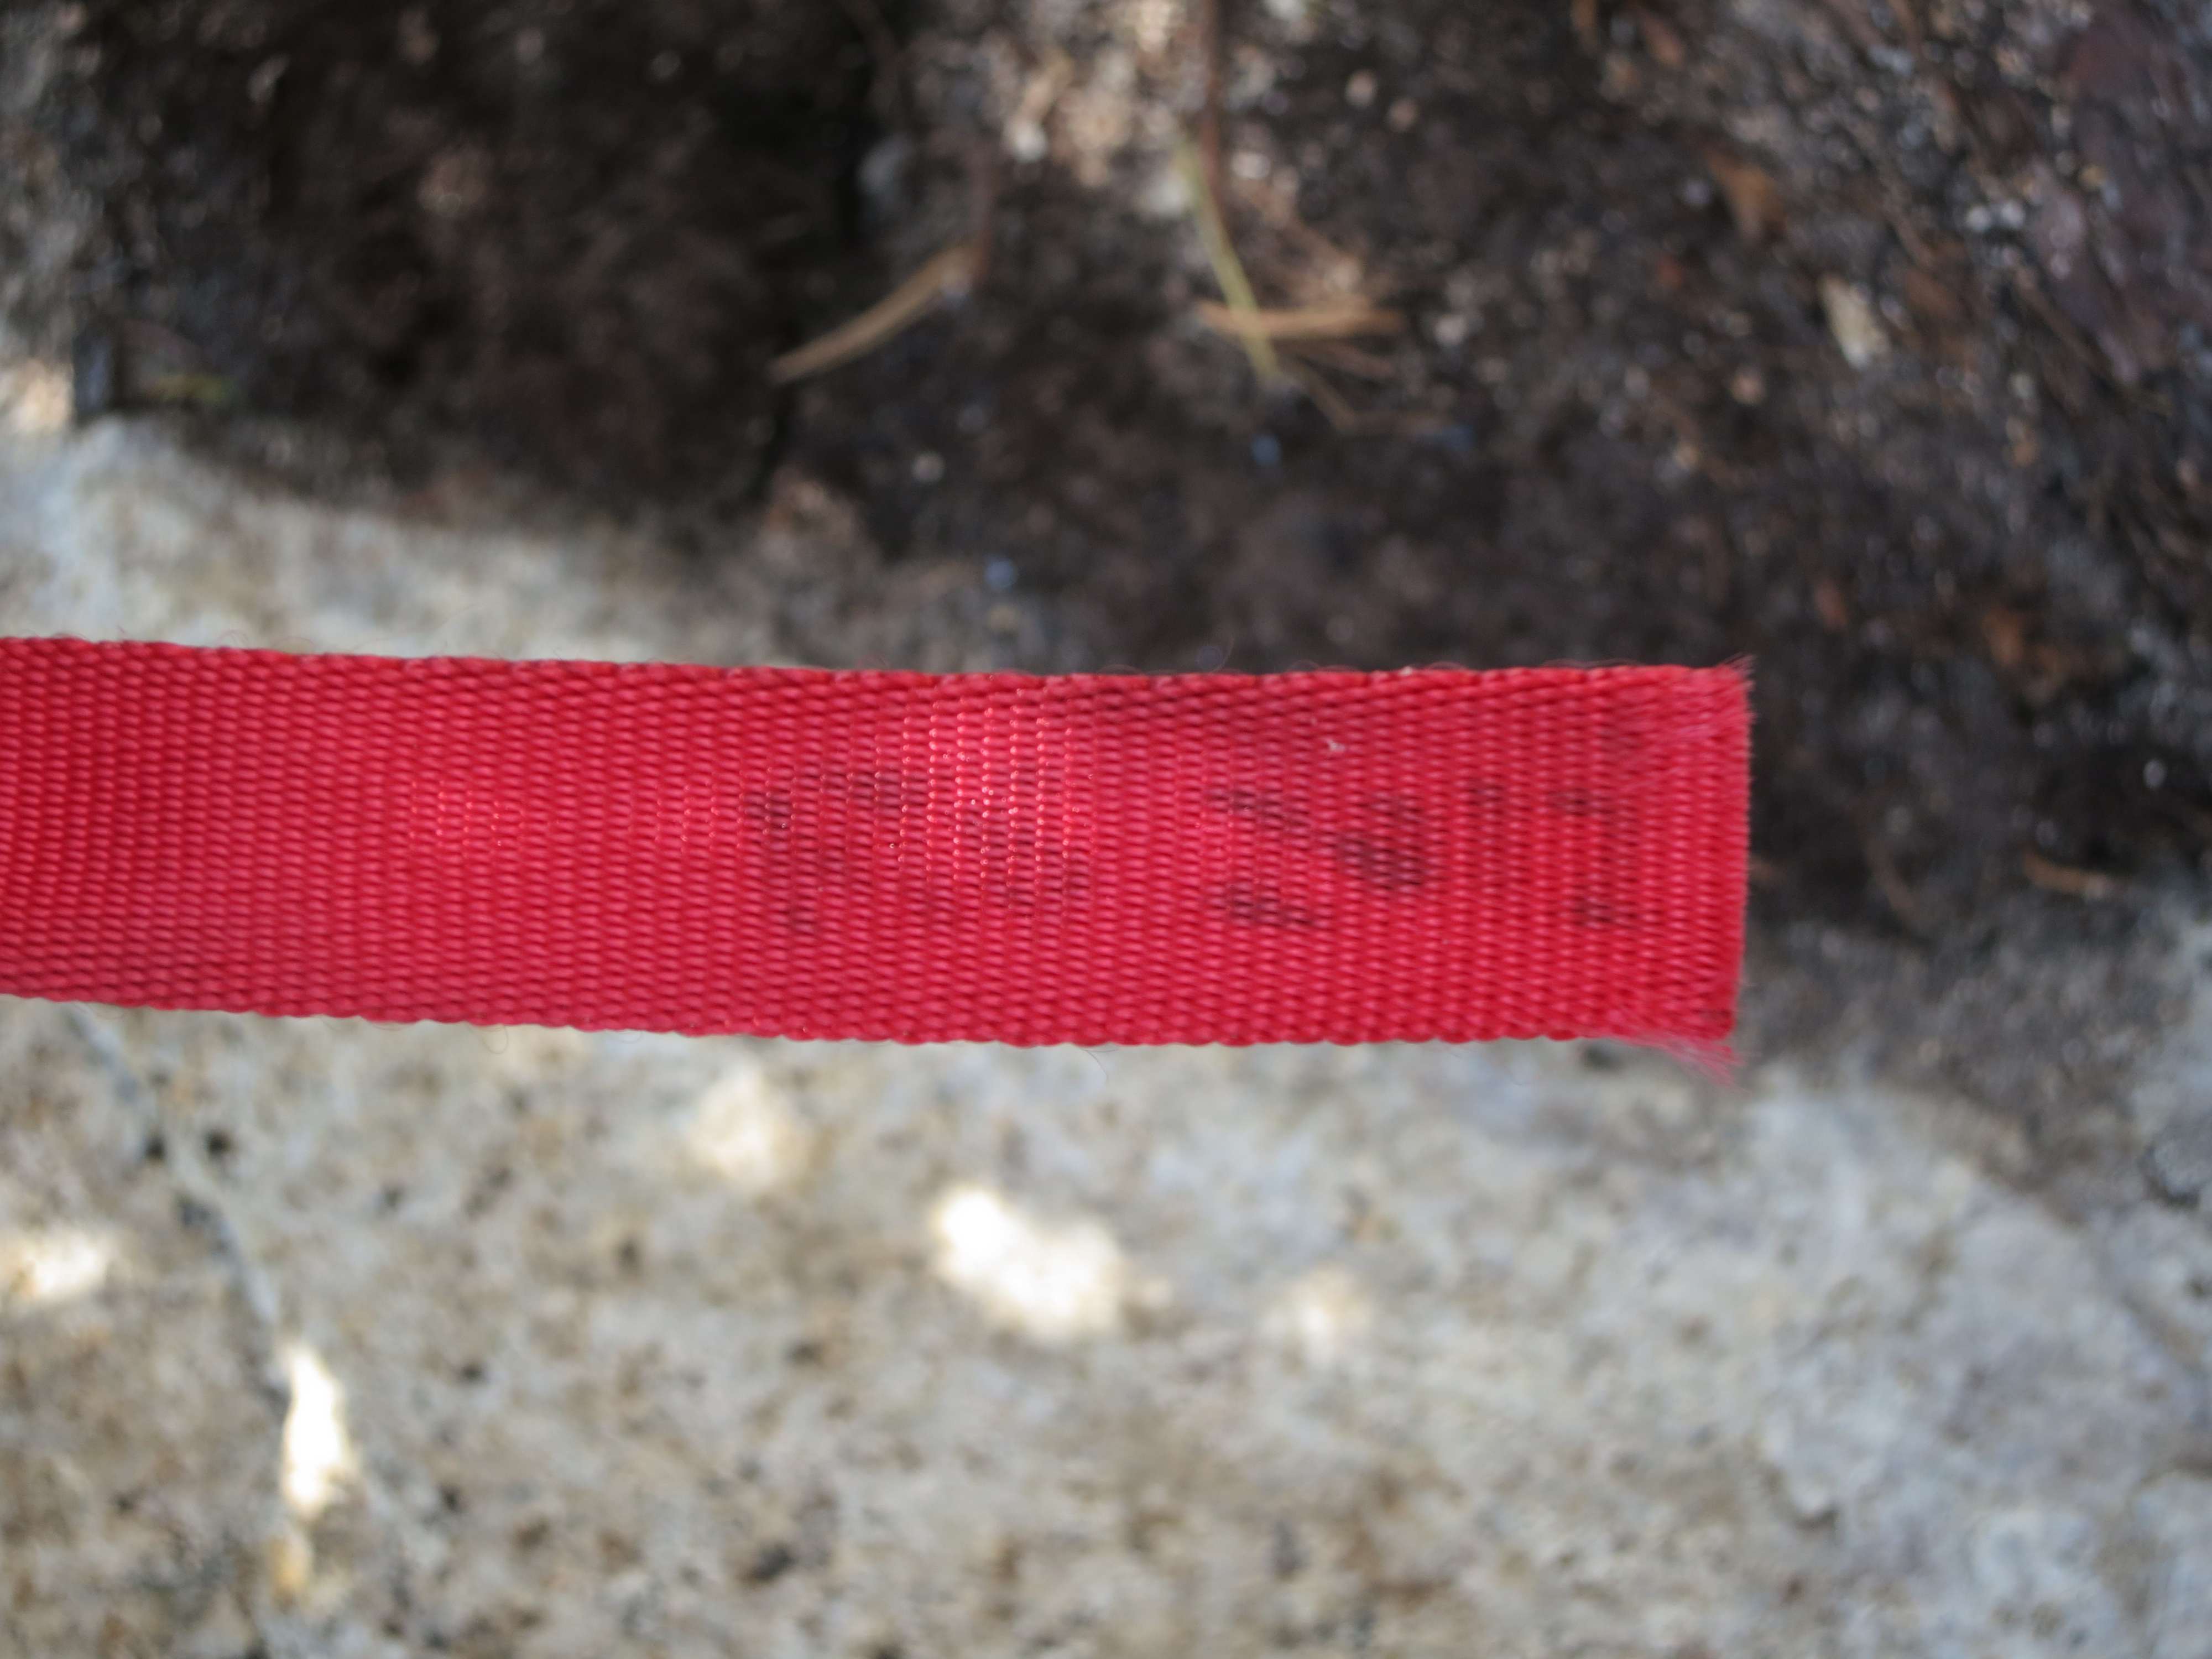
“RTB 2012” My own webbing was still part of one rap anchor. The webbing itself isn’t nearly as faded I as would expect for 1 year & 10 months outdoors, though I guess it is in a shaded spot.
I was shocked to notice some faded writing on the tail of the red sling there: “RTB 2012.” Way back in October 2012 I had been a rope lead on the South Arete, and I had added that sling to that anchor. The sling itself had only faded a little, it still looked passable, but I had kinda assumed people replaced rap slings a little more often than that. Anyway, we did that rappel, and the one below that (which is from bolts & chains, thankfully.) We rescued a stuck #0.3 X4 cam that some other South Arete climbers we met were lamenting, and clipped it to the pack at the base that they described as theirs.

Many climbers starting up the SW Rib near midday
We were both on the ground with the rope coiled by 1:30pm. That means it took us 2 hours to descend, counting our summit-break, and waiting for parties to finish climbing before we tossed our ropes on 2 of the 3 rappels. It was a 10 minute walk back to our packs hanging from the split-top larch at the base of the SW Rib route. It was a kinda painful 10 minutes walking downhill in rock shoes, but I don’t see any worthwhile way to avoid it. We sorted our gear so we both got our own pro back, packed up, and were walking out a little before 2pm. We could see at least 7 people on the SW Rib route at this time: two teams of 2, and one team of 3 just getting off the ground. After encouraging a pair of mountain goats to get off the trail, we were back at the car a little after 3pm. We each had a cold Rainier out of the cooler to celebrate, relaxed for a minute, then hit the road for home.
Summary of times:
3 hour drive Seattle to Blue Lake TH
3am wake up, hiking by 3:20
2 hour approach hike to route
5h30m ascent of the route
2 hours to descend via the South Arete route
1h30m hike out
just a shave under 12 hours car-to-car!
Summary of our beta:
There’s a 5.5 alternative to pitch #1 if you go too far left before starting the route, and you still end up right below the 2nd pitch.
The 3rd & 4th pitches are ridiculously short, I’d link them and just deal with the rope drag.
Pitch 9 isn’t really a thing, you can just walk it unprotected.
Normally I’d say leading a 5.8 on trad gear is the edge of what’s doable with my current skill, but as I climbed I felt like I could have lead every pitch on this climb without struggling. Either it’s a little soft for a 5.8, or I’m getting better 🙂 I agree with what the book says: this route protects very well (as long as you own or can borrow one #5 C4) and it’s a great route to break into climbing 5.8 on trad gear. You’ll want to be experienced enough with multipitch to be efficient. I’d say if you’ve been able to climb a bunch of the easy Leavenworth classic mulitpitches (Ground Hog’s Day, R&D, Midway, etc.) and you’ve been able to climb Prime Rib of Goat near Mazama (a fully bolted 11 pitch 5.9- sport route best done with a car shuttle,) then you are ready to tackle the SW Rib of SEWS. Having gone up & down the South Arete route before was very helpful too, so we already knew how to navigate that descent. Start early on the SW Rib, and don’t let it intimidate you 🙂 Spontaneity Arete, also a Washington Pass climb, is pretty equivalent to this in terms of length & difficulty, if I’m remembering last summer correctly.
Recommended Gear:
- a single 60m rope
- a full set of nuts (BD stopper set #4-13)
- Black Diamond C4 cams #0.4 (or optionally #0.3) through #3, plus a #5 (we carried a #4 but only placed it once, it wasn’t completely necessary)
- Then either:
- (A) double up on at least C4 sizes #1 and #2 and carry tricams pink, red, brown, & blue; or
- (B) increase the number of C4 sizes you double up on to be #0.5 through #3.
(Many belay anchors are 3-piece gear anchors. Many of them I was able to build with 1 cam, 1 nut, & 1 tricam. If that kind of pro isn’t your thing, you’ll want all those doubled cams for anchor building.)
- Slings: 8 single-length alpine draws, and at least 4 doubles (maybe more on the doubles, there were unusually frequent opportunities to girth-hitch chockstones, and some pitches turn sharp corners.)
- Rubber crack gloves were nice to have on most pitches, but they’re not a must.
- Radios were unnecessary for us, as long as we yelled loudly we could always hear each other clearly.
